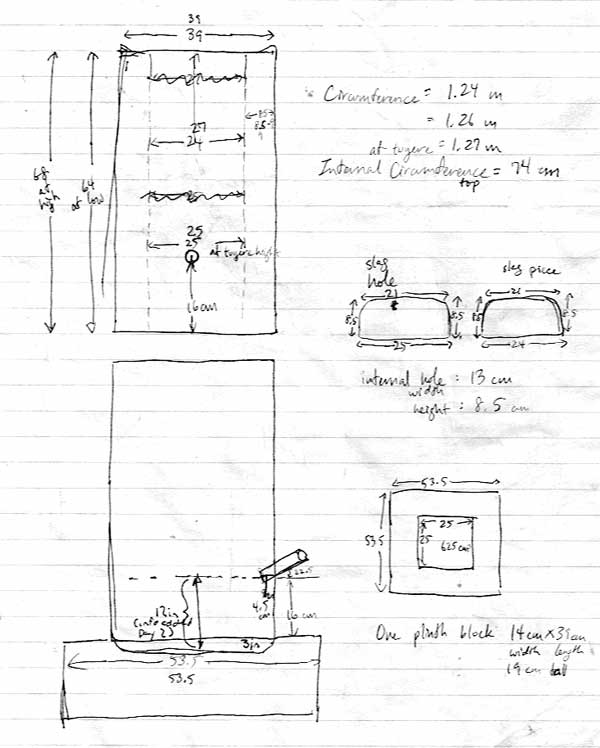
In keeping with the historic basis of the program, the furnace chosen was the
basic (Norse) Short Shaft layout with which there is considerable
experience at this point. Although the basic slag management system would be
as a Slag Tapping furnace, the shaft would be elevated on a
concrete block plinth packed with charcoal fines.
The air system would use the proven ceramic tube tuyere, inserted
proud of the inner wall and set to 22 degrees down angle. Air
would be supplied using the standard industrial electric blower,
controlled via a sliding blast gate.
After some discussion, it was decided to use a combination
of ore types. These were chosen both for expected effects, plus
to allow the students the experience of working with different ore bodies. The
majority of the ore would be a lower iron content rock ore from Virginia, enriched
with a quantity of both DD 1 analog and high iron content haematite grit.
Provisions would be made for measuring
air volume & pressure, plus internal temperatures of the furnace.
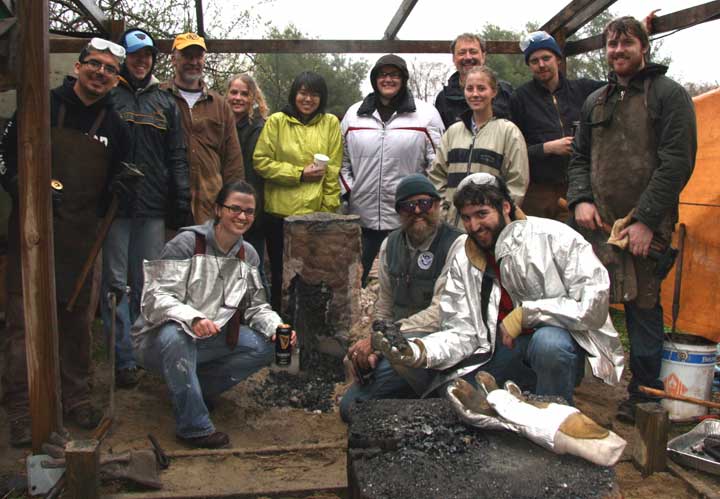
The students would be guided by an experienced Smelt Master. The intent from
the very start was to merely demonstrate, then have the participants
undertake as much of the actual building, preparation and operation of the furnace
as would be possible.
|
|
|
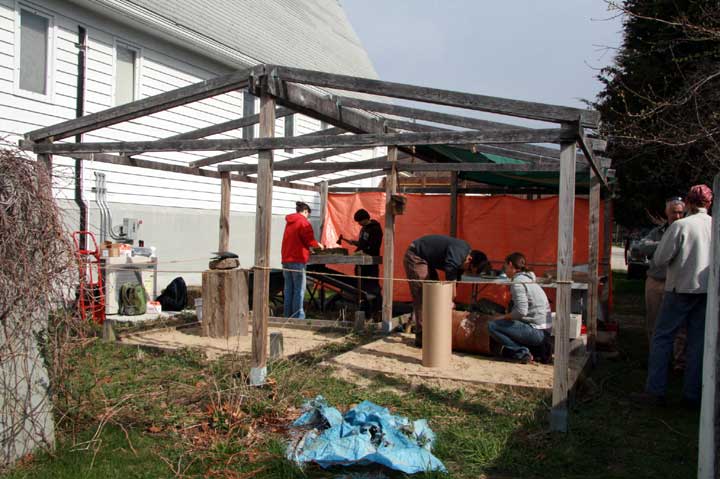
Overview of the working area, at the rear of the education
activities building at Haffenreffer. The sand base of these 'archaeology
teaching areas' proved ideal for the workshop.
|
After equipment set up (from the opposite end). The wooden
frame would prove our saviour - combined with tarp covers as the weather
turned |
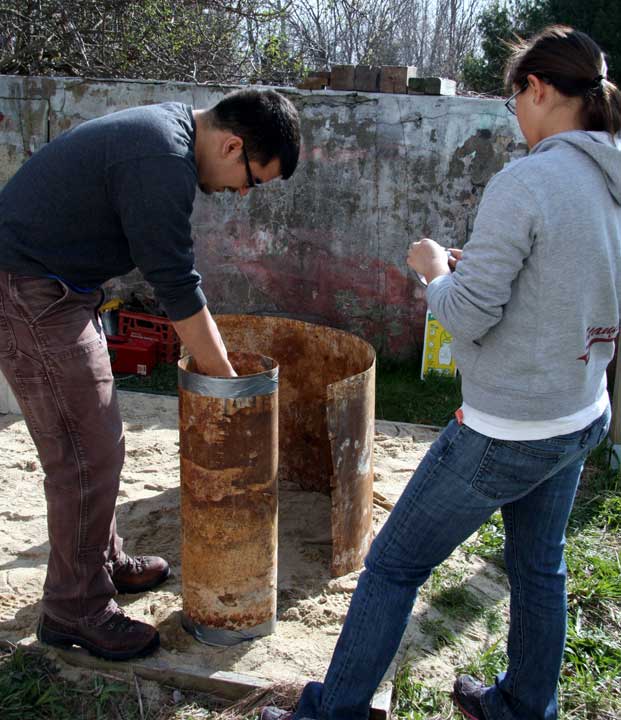
Preparing the (well used!) sheet metal forms that would
allow for the building of a 'standard' sized furnace. |
|
|
|
| Filling the concrete blocks that form the plinth with charcoal fines. |
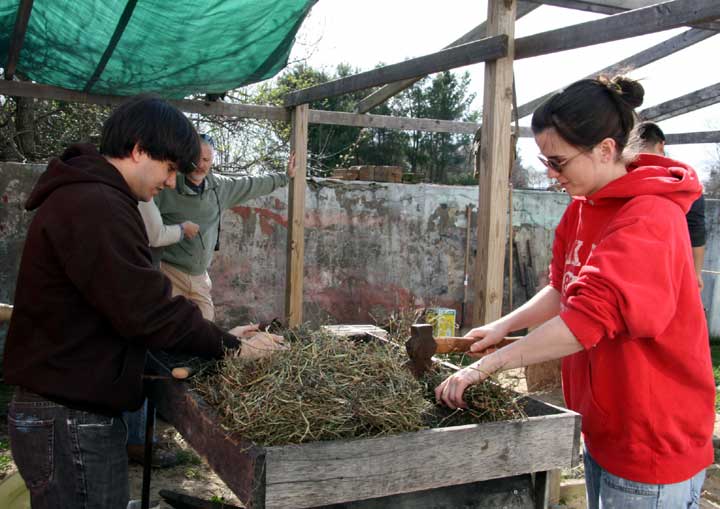
Another group chops hay into the required short pieces,
using hand axes on wooden slabs. |
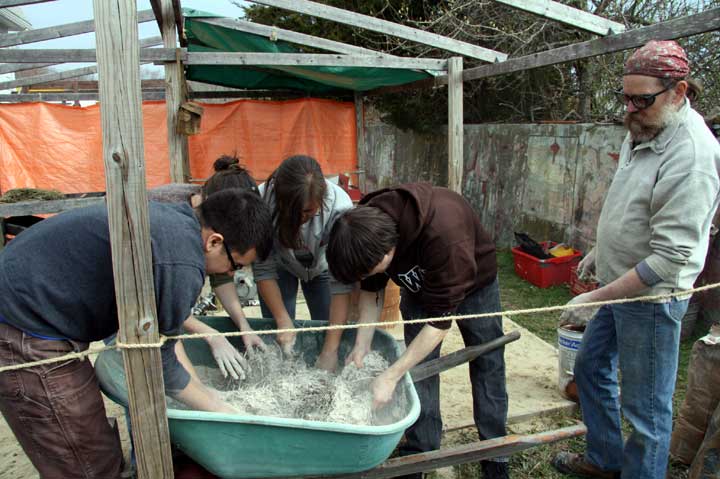
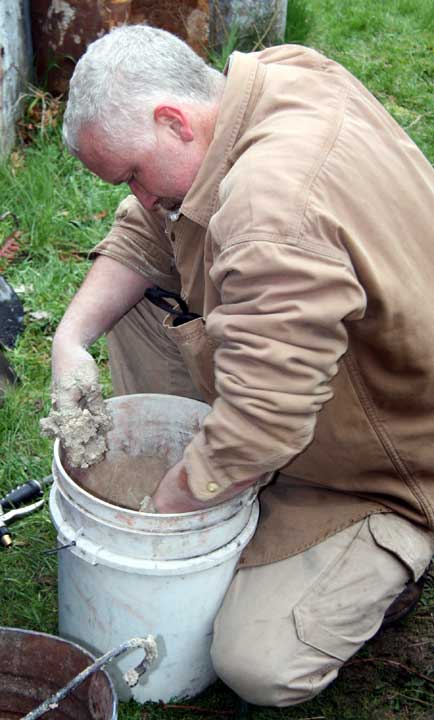
Mixing powered clay with the chopped straw and sand
to make the cobb for building the furnace. Everyone pitches in for this
labour. |
|
|
|
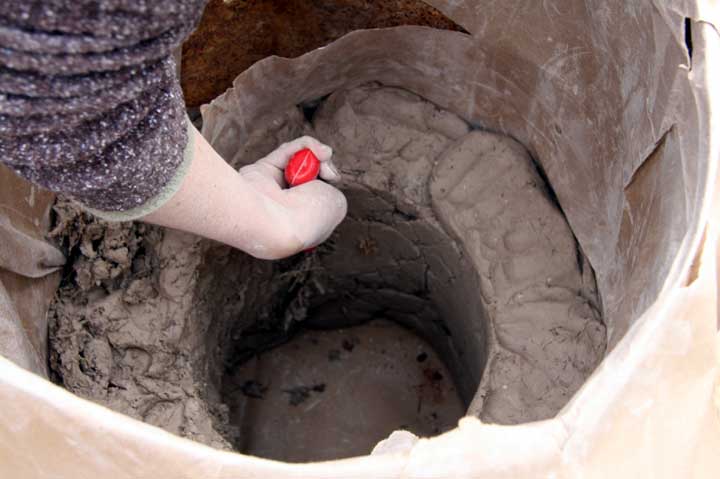
| The metal forms are lined with heavy paper. This is to allow for easy
removal of the forms once the furnace is built up. |
'You have to pack it tight!' Using the handle end of a sledge to pack
down clay blocks which are not pushed down into a solid mass. |
'Best laid plans...' The paper had torn away from the inner form. It was
decided to simply remove it (while it was still possible) and pack the growing
walls by hand. |
|
|
|
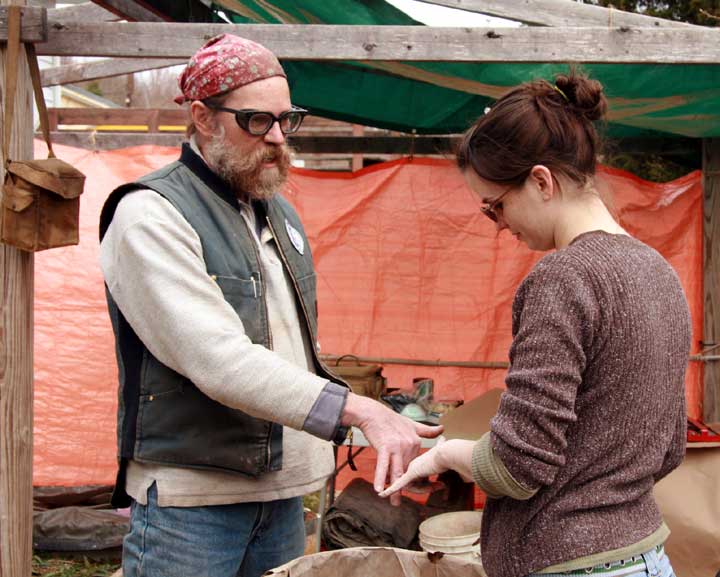
| 'How big?' Illustrating ancient measuring methods based on your own body
- the 8 inch / 20 cm 'span'. |
'Rubber Boot Archaeologist' - Kevin Smith, currator at the Haffenreffer
gets 'covered in filth like the rest of us'... |
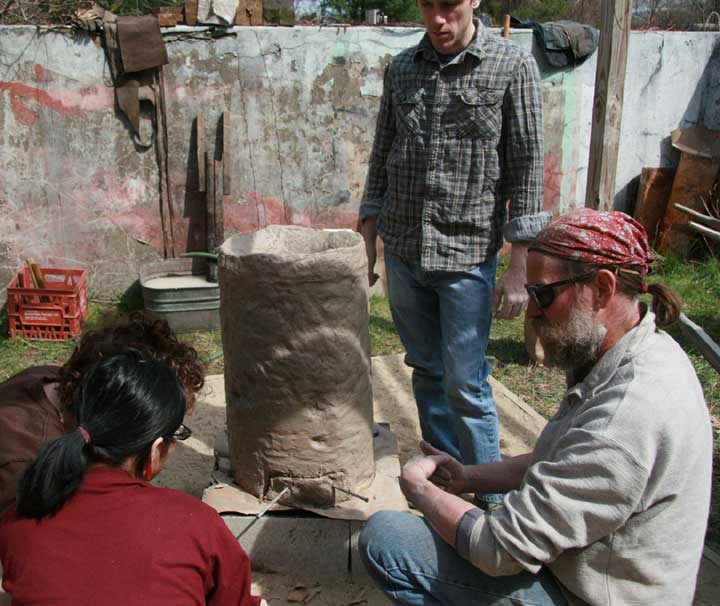
Cutting the tap arch and preparing to cut for and mount the tuyere. Explaining
the mechanics at the bottom of the furnace. |
|
|
|
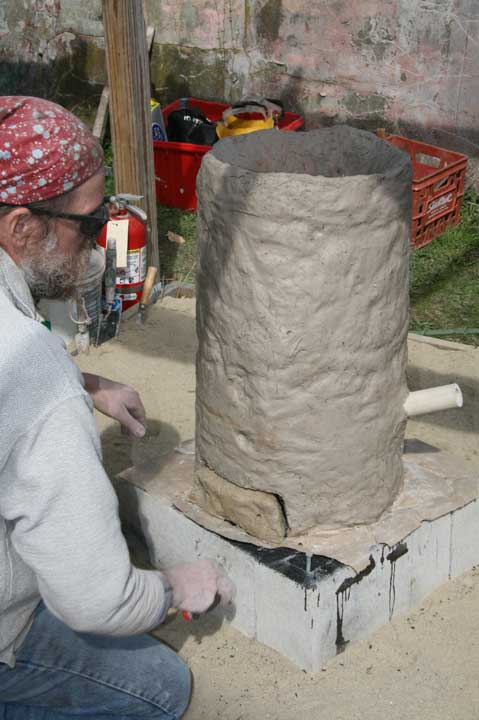
| Completed furnace, with arch and tuyere in place. |
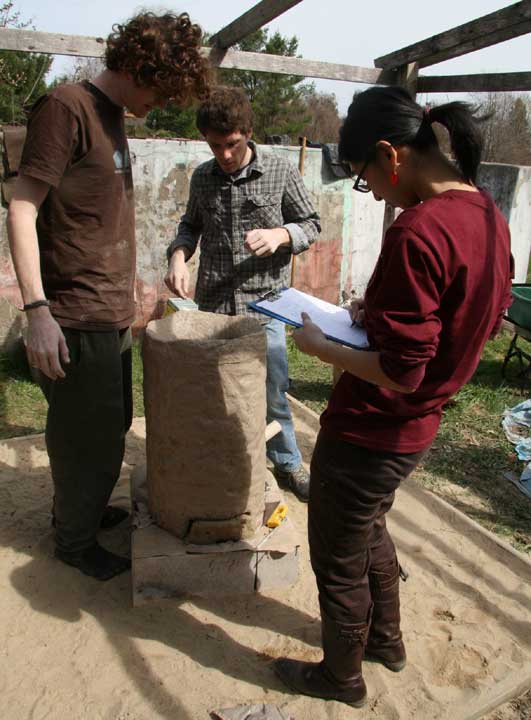
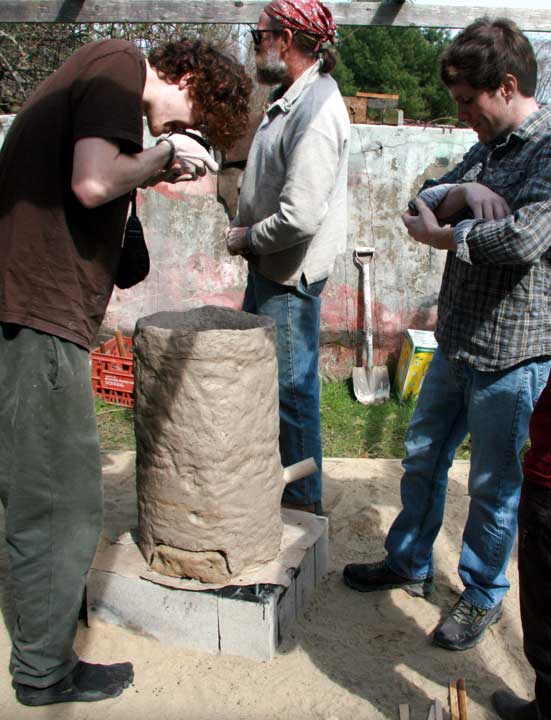
Time for measurements. Students record the dimensions of their completed
furnace. |
When in Doubt - PHOTOGRAPH! |
|
|
|
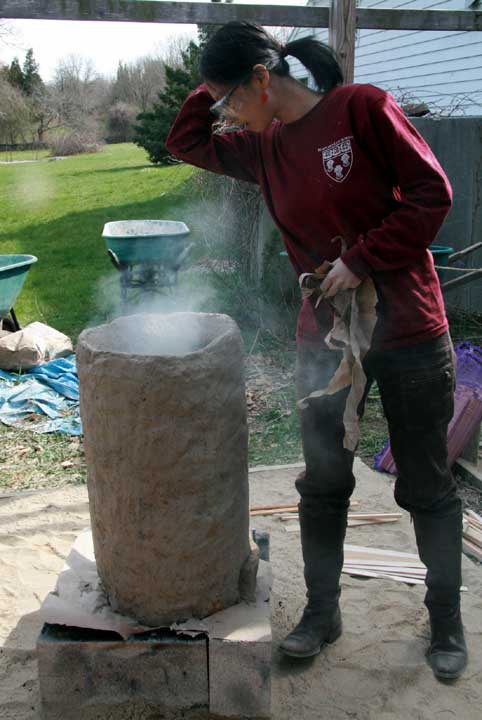
| Starting the drying fire. One student splits wood, another assumes the
task of minding a slow gentle fire. |
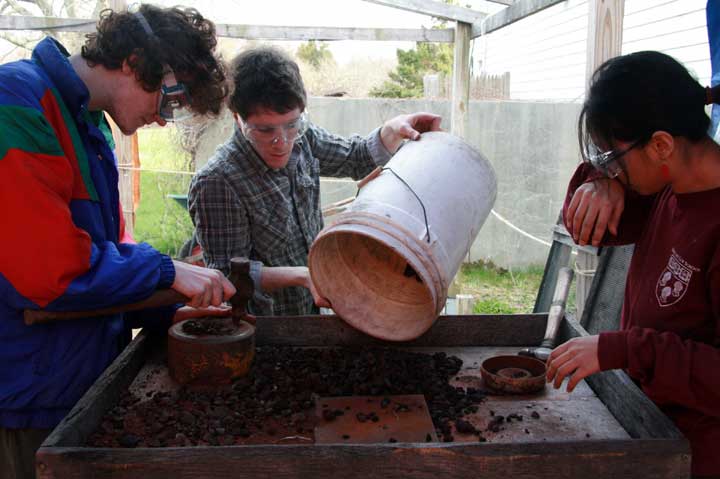
Preparing Ore - Explaining the roasting process, and both what sizes are
needed - and how best to do this. |
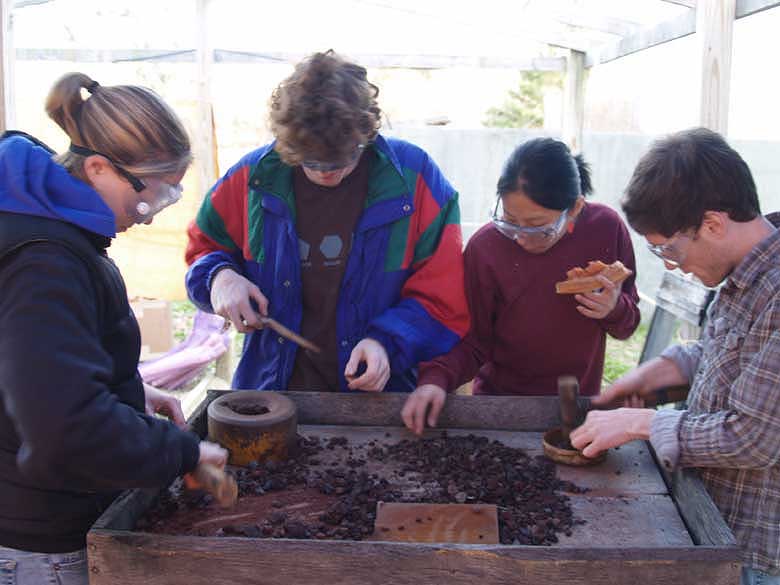
Pitching in for the ore breaking. A total of about 19 kg of rock ore needs
to be crushed. |
|
|
|
|
| Ore and PIZZA! Absorbed students work while they snatch a bite. |
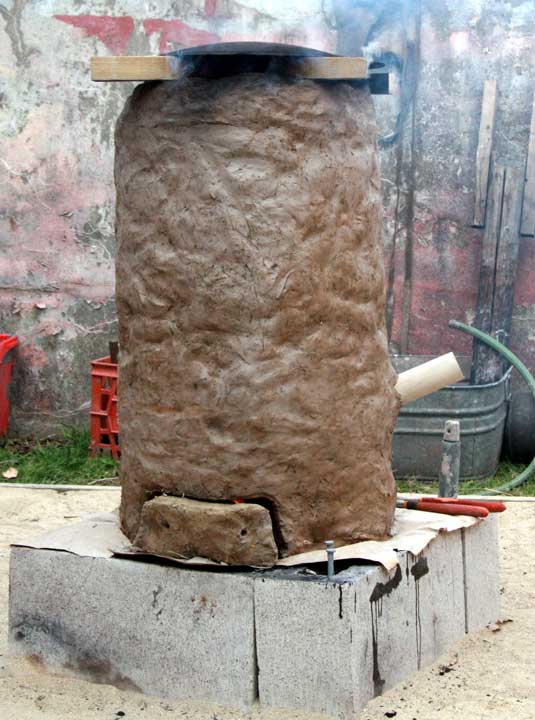
End of Day One. A metal disk is placed on top of the furnace to hold the
heat in from the coals created from several hours of a small wood fire.
This will continue the drying process over night. |
Snorri Assists - The widest travelling member of DARC keeps an eye on
the drying fire. |
|
|
|
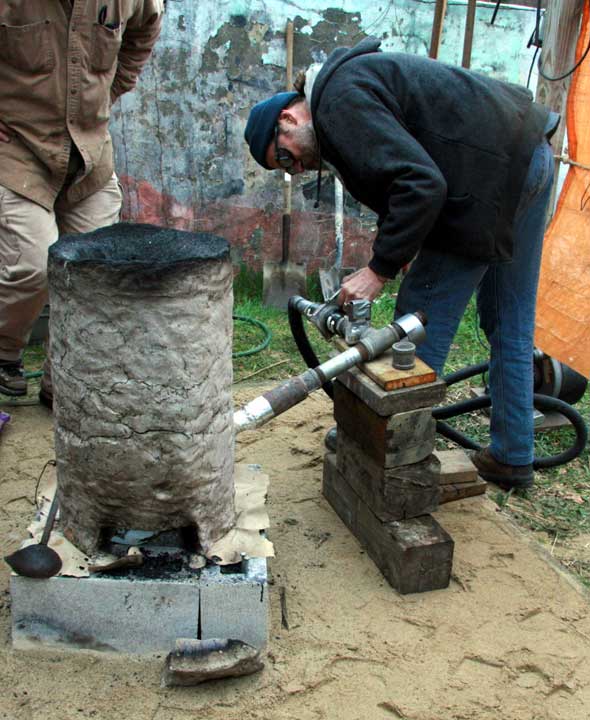
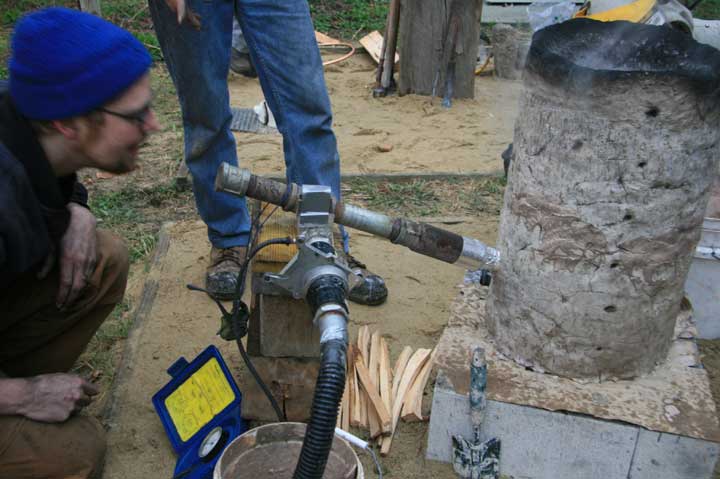
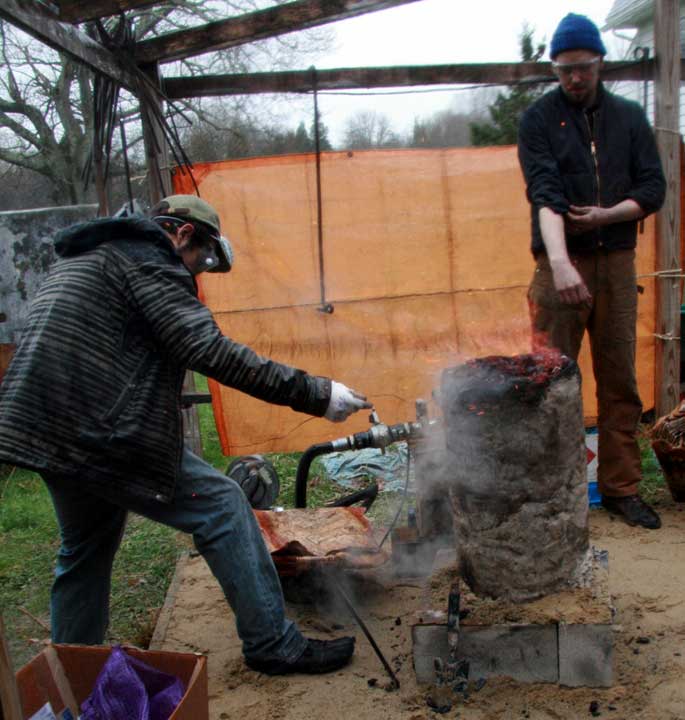
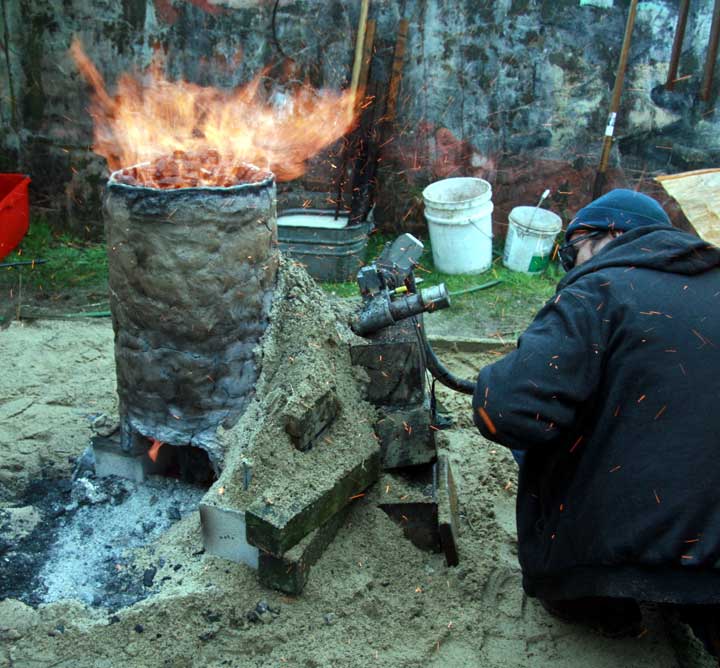
| Setting up the air system. The T connection allows both viewing, and rodding
clear, of the tuyere. |
Into the pre-heat. Detailing the action and sorting out responcibilities. |
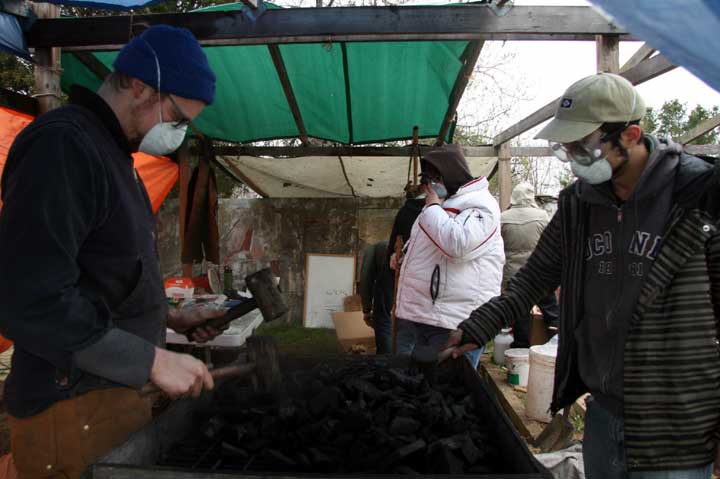
A second group starts breaking and grading charcoal. About 6 x 20 lb bags
were needed (total 45 kg after grading). |
|
|
|
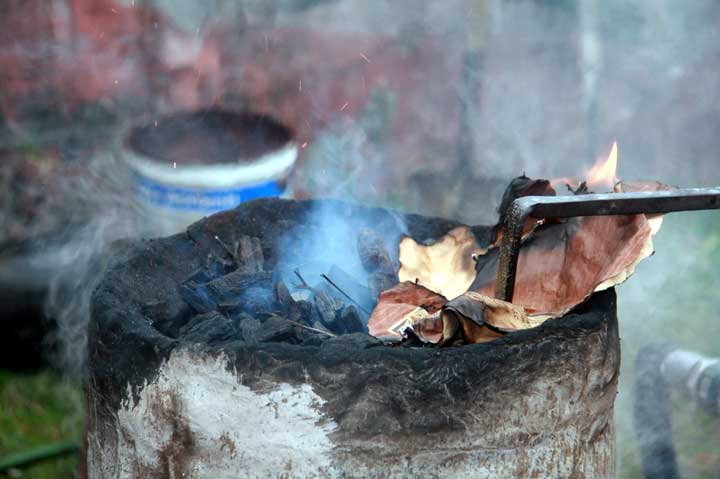
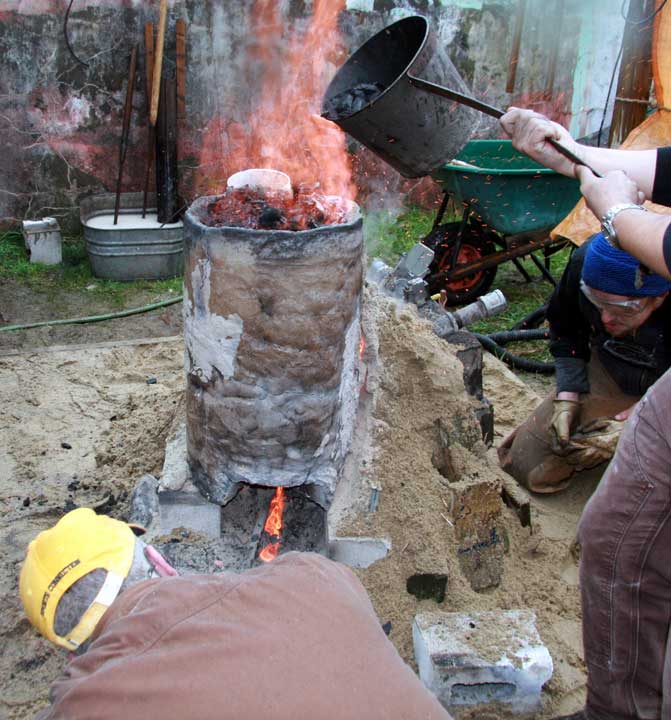
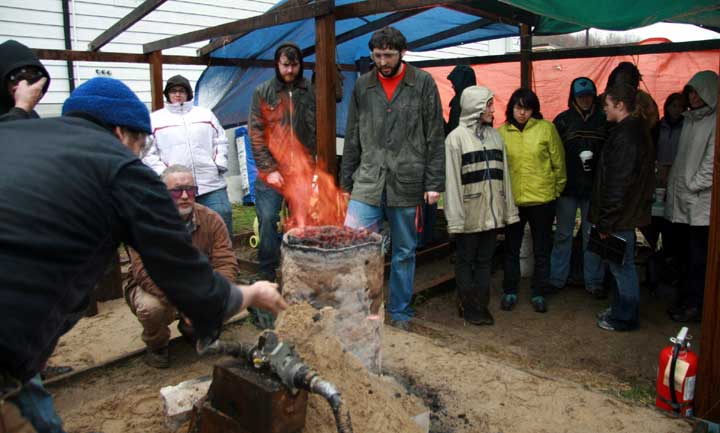
| Filling the furnace with rough charcoal over top of the pre-heat wood
fire. Initially there is incomplete combustion, which gives a 'greasy' smoke. |
Touching off the volatile gasses with a piece of burning paper. There
is a plume of almost invisible flame off the top of the furnace now. |
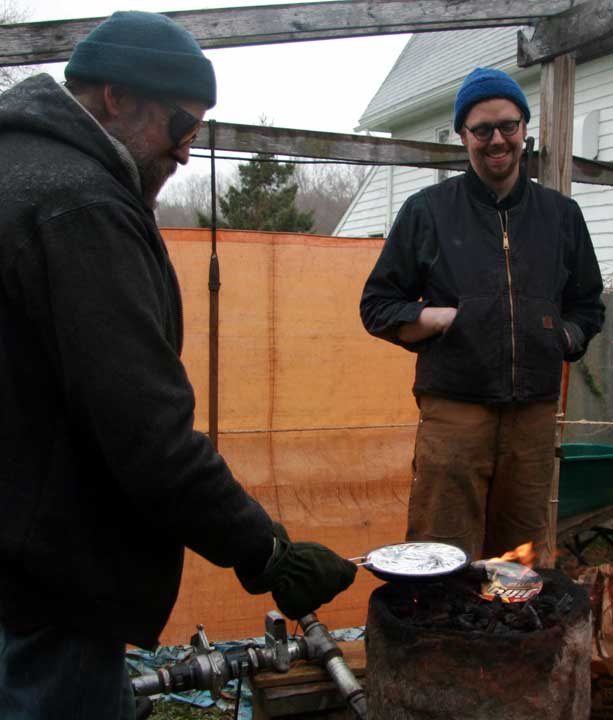
Induction into the Mystery : Making Jiffy Pop has the intended effect
of breaking the tension! |
|
|
|
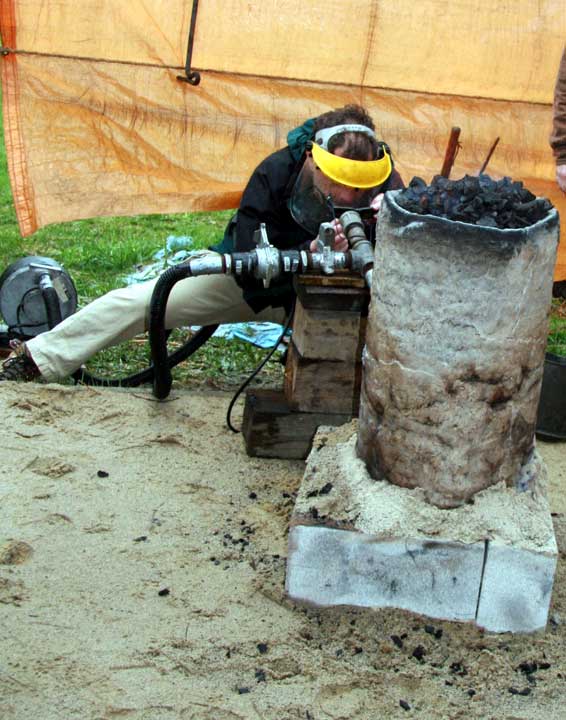
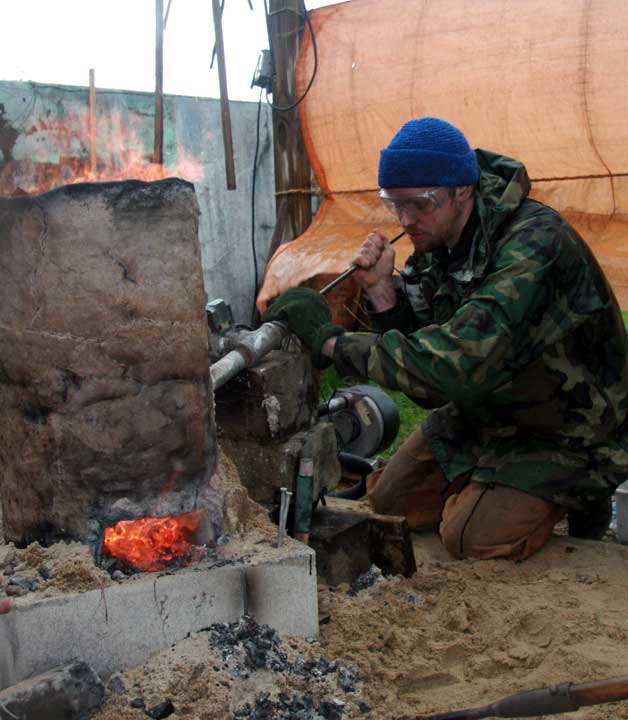
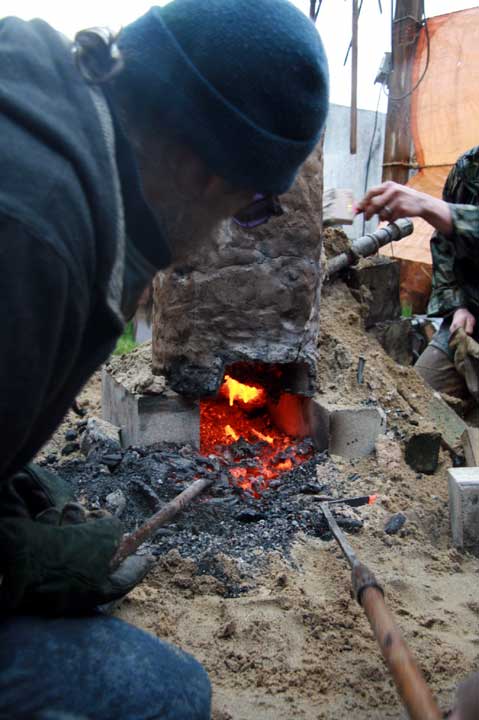
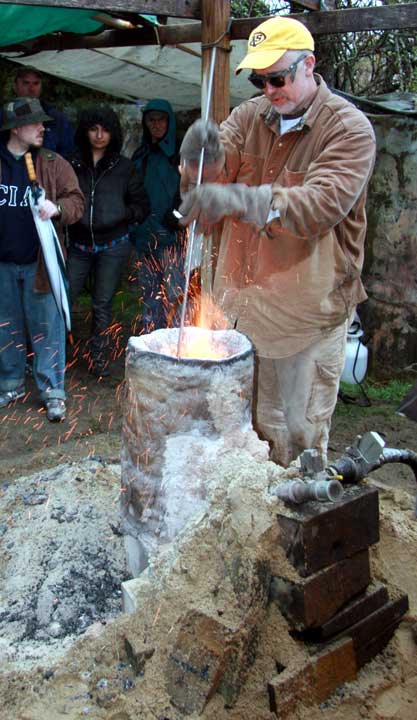
| A fast peek down the tuyere. The sliding blast gate to control air flow
(roughly calibrated) and the air pressure guage can be seen. |
Another student checks down the tuyere. Although *everyone* was required
to wear safety glasses in the smelting area, some students are more nervous
around the furnace than others. |
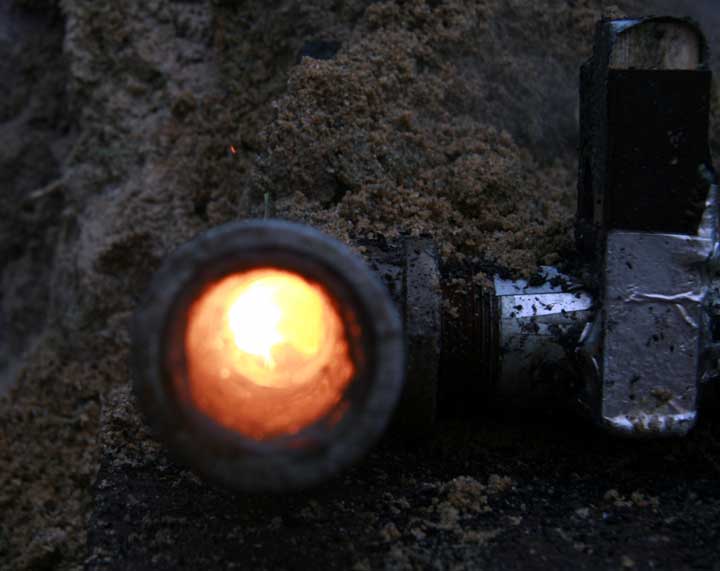
(Later) An 'Up the Kilt' shot - down the tuyere view port into the glowing
heart of the furnace. |
|
|
|
| Using a standard measure of graded charcoal to keep the furnace full at
all times. Time to burn that measure indicates relative temperatures inside. |
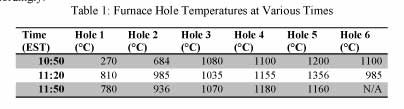
Taking internal temperatures. Thermocouples to a digital pyrometer were
inserted through small holes drilled through the furnace wall. See the chart
(by Ian Brownstien) |
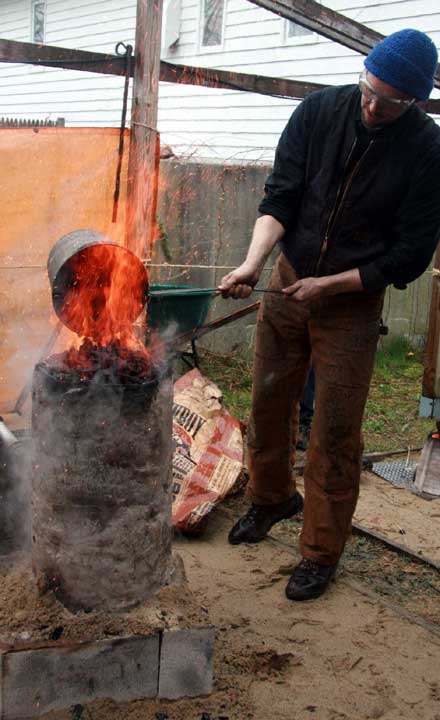
Adding ore. Explaining how best to manage the individual additions as
the heat in the furnace will change movement of fuel and ore over the course
of the smelt. |
|
|
|
Recording time of charcoal and ore additions. Time point
between charcoal measurements is especially important. |
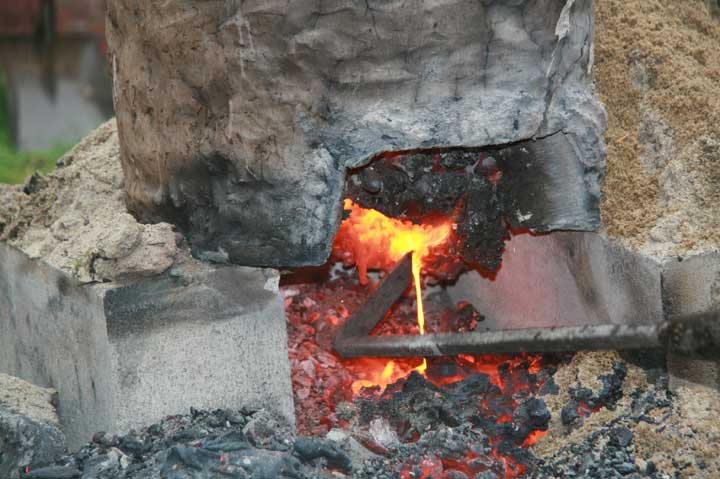
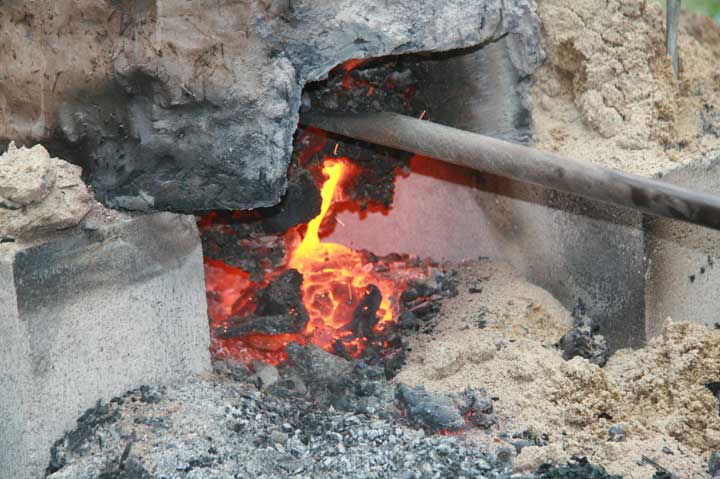
Early in the smelt - opening up the bottom tap arch.
The bottom of the developing slag bowl (bright yellow) is easily seen. |
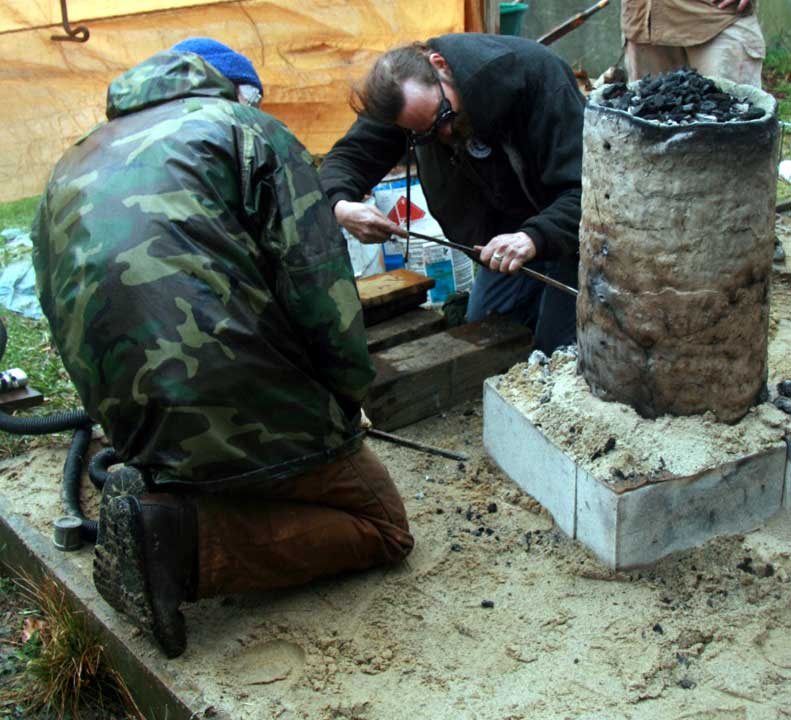
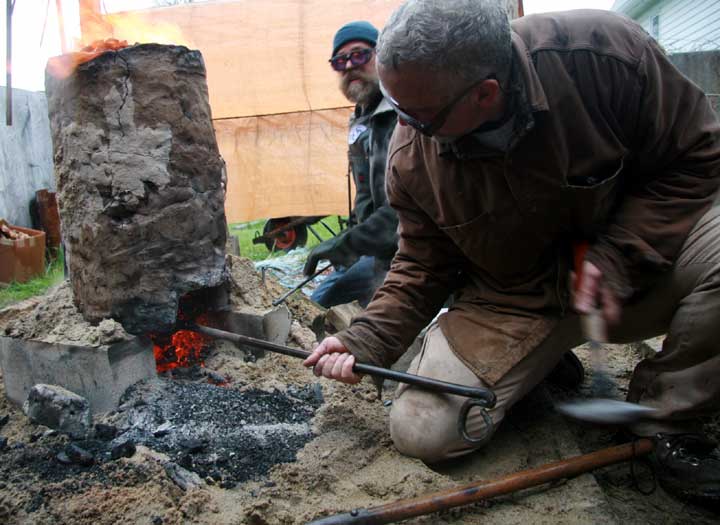
'Rogering' out a finger of solidified slag that is starting
to block the tuyere. This is a normal requirement - but... |
|
|
|
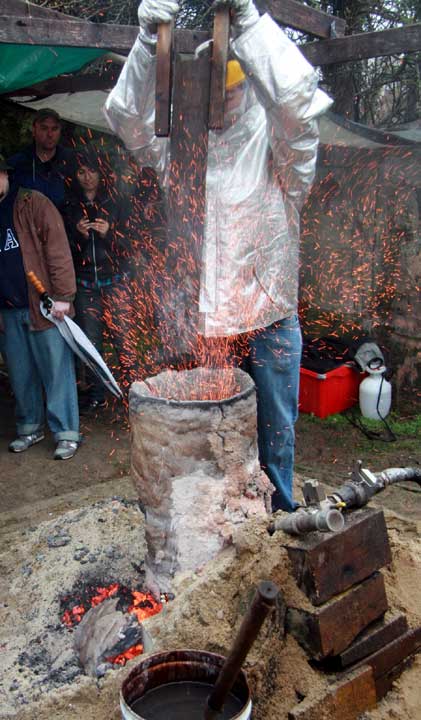
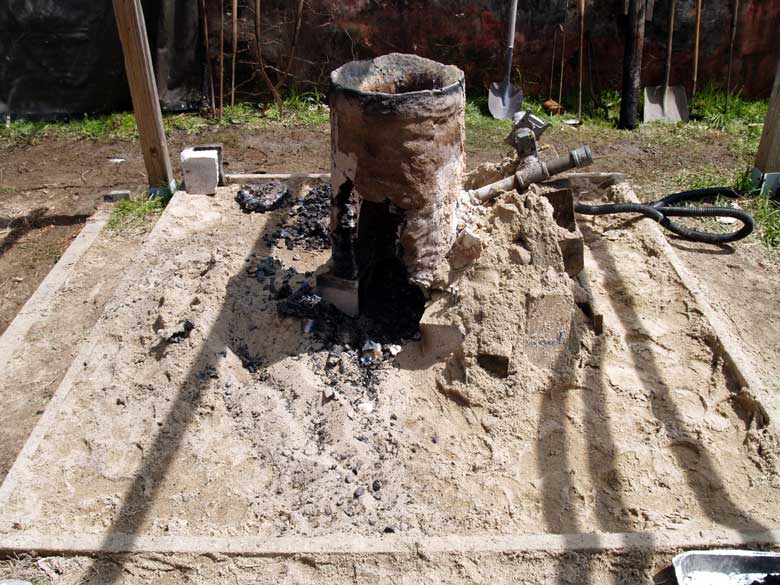
| .. what?! While attempting to clear a blockage, the entire
ceramic tuyere has been driven into the body of the furnace. Frantic work
starts - first to attempt to hook out the tuyere with a narrow probe down
the central hole. |
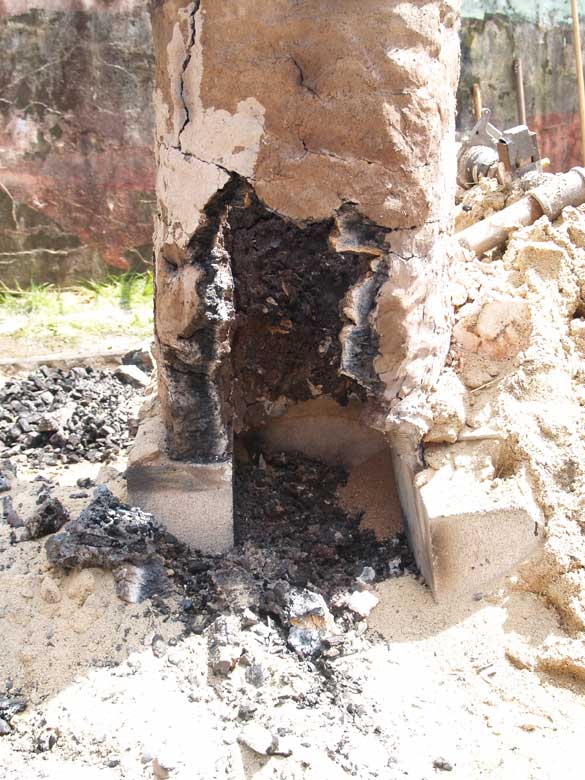
That didn't work! Now punching a hole into the side of the furnace to
pull free the trapped tuyere and mount an alternative air blast method.
If the blast is not restored in mere minutes, temperatures will crash and
the smelt will be lost! |
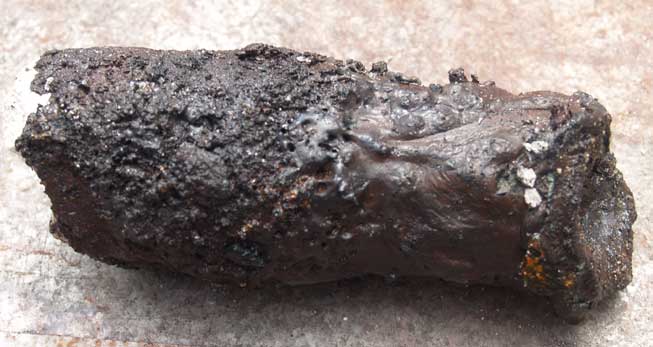
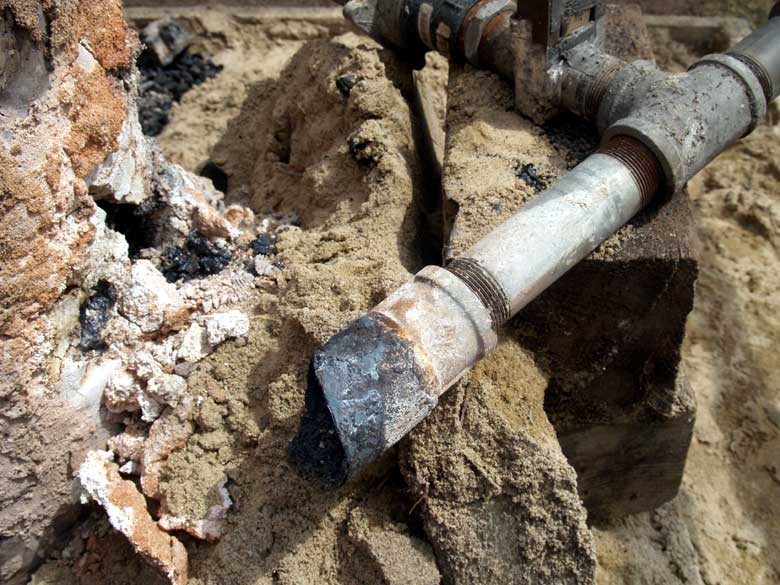
After the excitement. Examining the withdrawn ceramic tube. |
| |
|
|
| Slag can be seen clinging to the tube, with some errosion
obvious on end that was originally inside the furnace (to the right here) |
End view - totally sealed with congealed slag! |
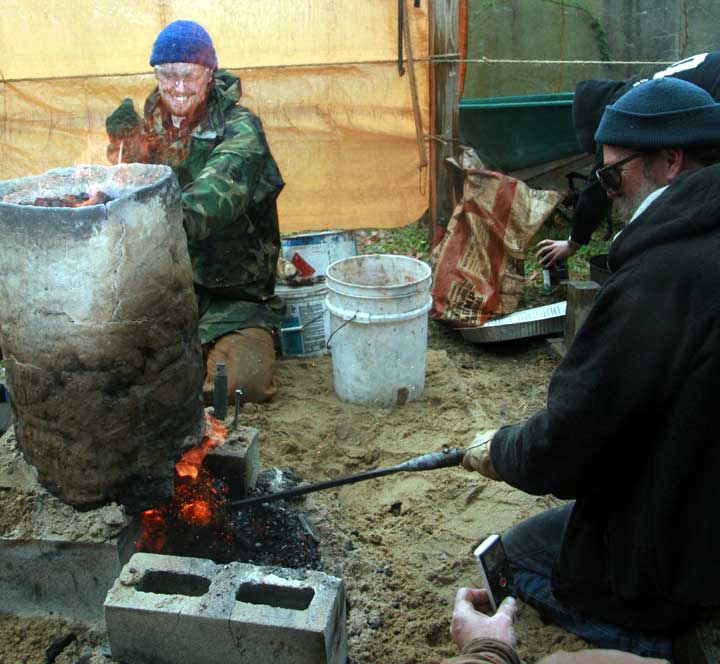
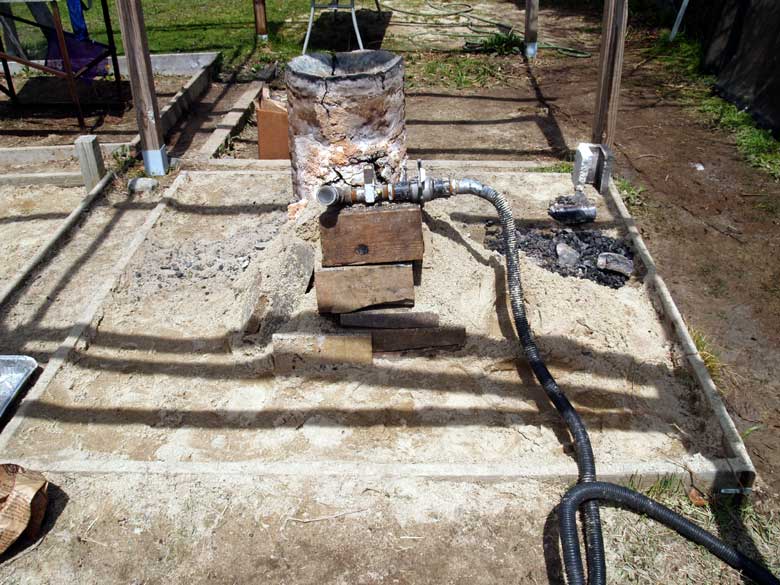
With a metal pipe tuyere now in place, there is still problems keeping
the blast clear. The solution is to lower the slag bowl. The concrete blocks
are pried open at the front, exposing the slag bowl. |
|
|
|
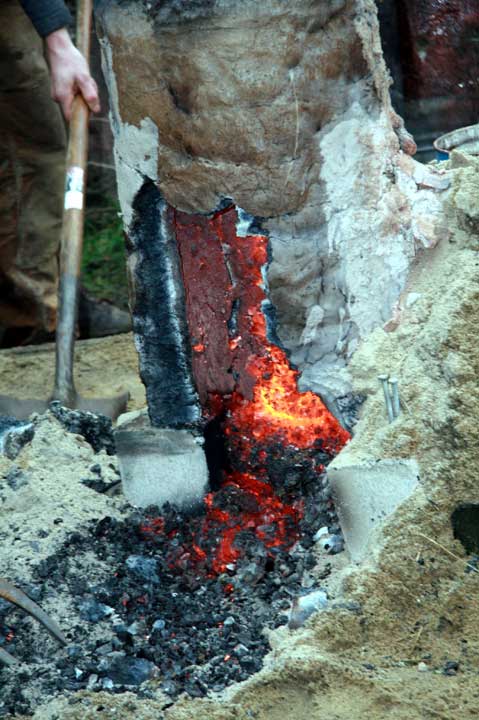
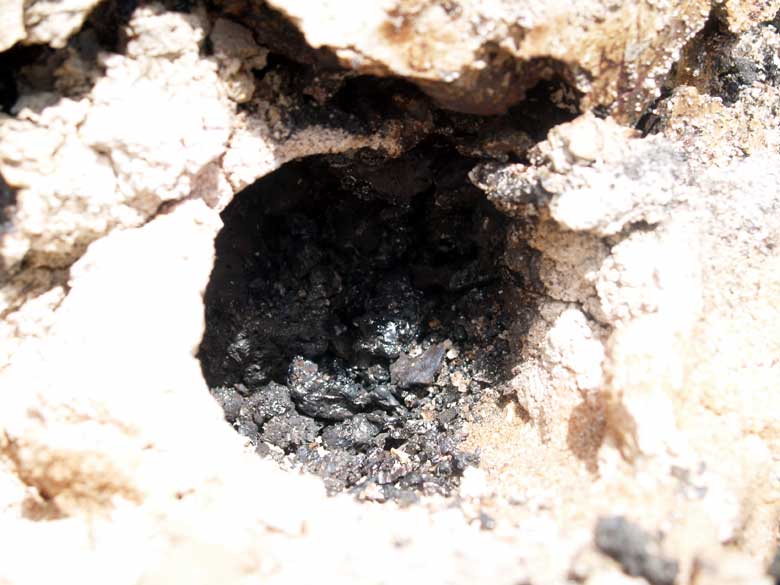
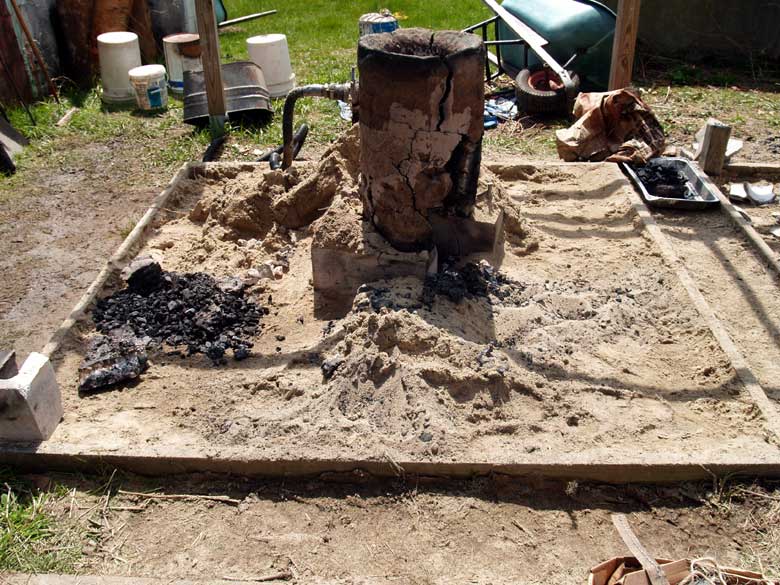
| By scooping away the supporting charcoal fines, hopefully
the hot (and soft) slag bowl will sag downwards under its own weight. |
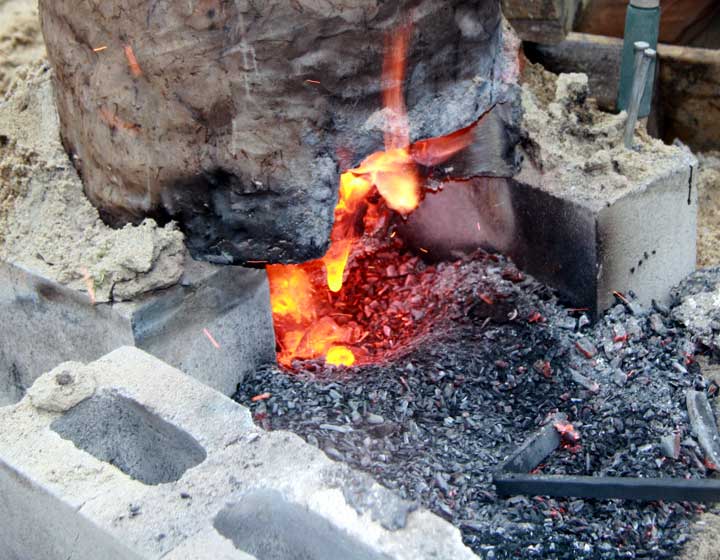
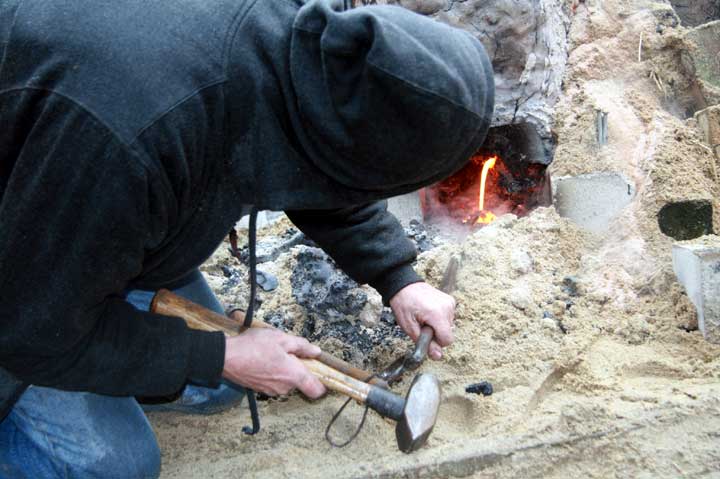
Poking a small hole in the bowl can also drain out some of the collected
liquid slag. Care must be taken not to drain too much, or the developing
bloom will be exposed to the air blast and cut away. |
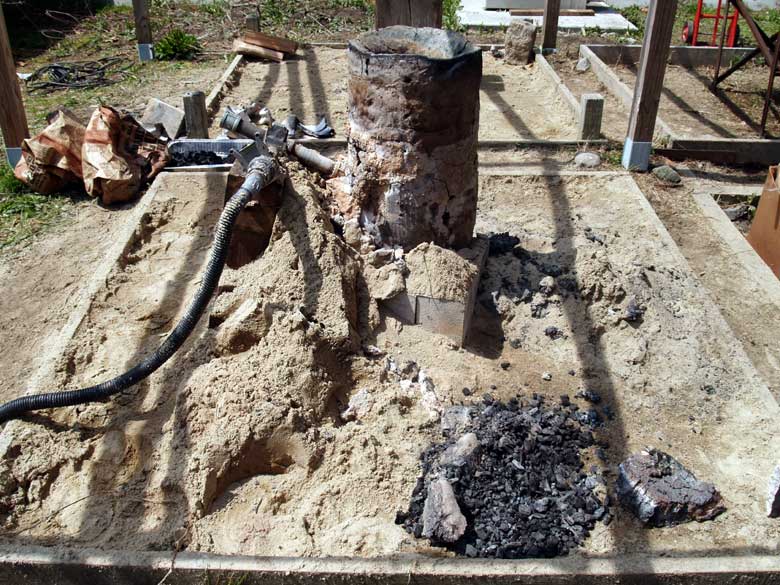
"Looks clear now!" - Pushing the pile of fines back under the
bowl to stop the draining of slag.
Note how the remainder of the team continues working. |
|
|
|
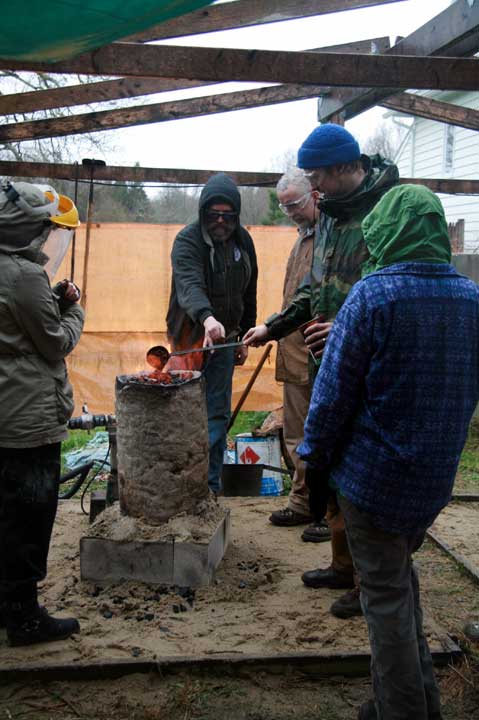
| "At least it's Happy Slag!" Examining the tapped
slag for colour and consistency. A dark black, solid glass indicates iron
rich slag, a sign the smelt is on track to producting a bloom. |
'Still too much' Charcoal and ore addtions continue without interuption
as one worker prepares to tap some slag off, and another keeps the tuyere
clear. |
'That doesn't sound right.' With experience, the sound of the air blast
is as important an indicator of a problem as a visual check. |
|
|
|
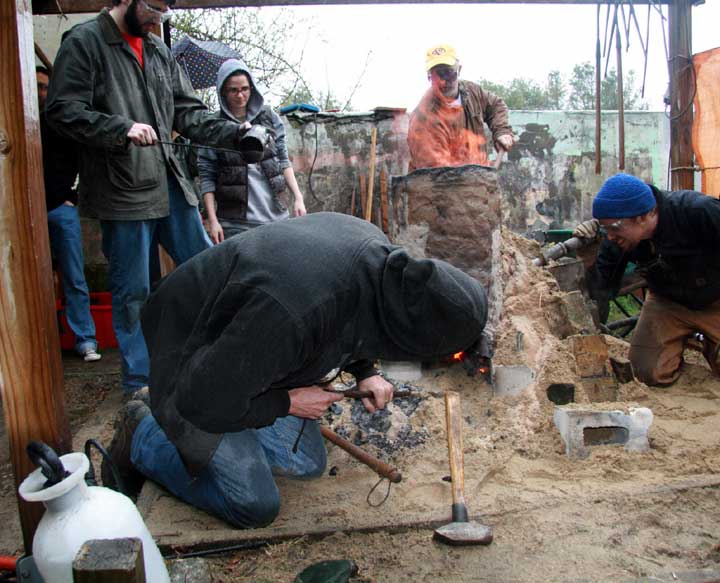
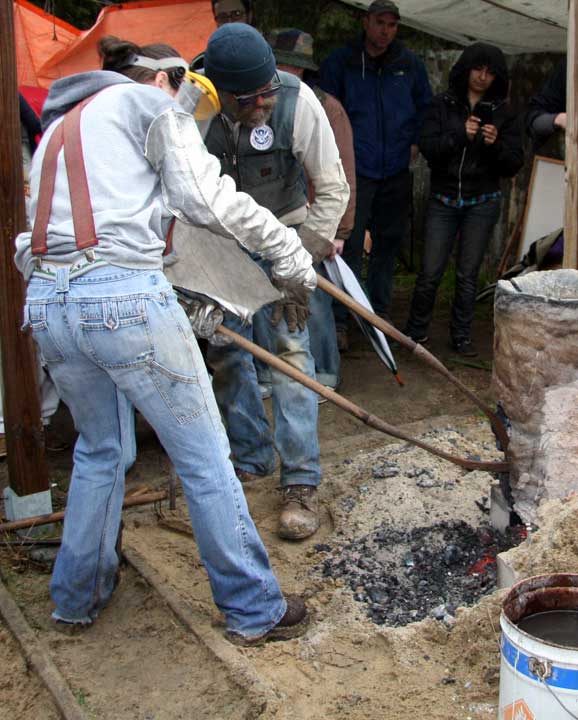
Kevin Smith attempting to punch a hole in
the side of the bowl to drain slag. Note how he is not looking where he
is trying to strike with the hammer. |
'Maybe you had better let me in there' With fast action required to
keep from drowing the tuyere, more experienced hands take over.
|
Place - THEN strike! A small hole starts to drain slag. |
|
|
|
| Generating a large pool of hot liquid slag below the bowl. |
Again pushing back fines and cold ash to seal the flow. In total there
were at least three tapping sequences, twice attempting to 'sag' the bowl
down. |
About done. At this point all the ore has been added, and burn down is
started. Time to organize the extraction effort. |
|
|
|
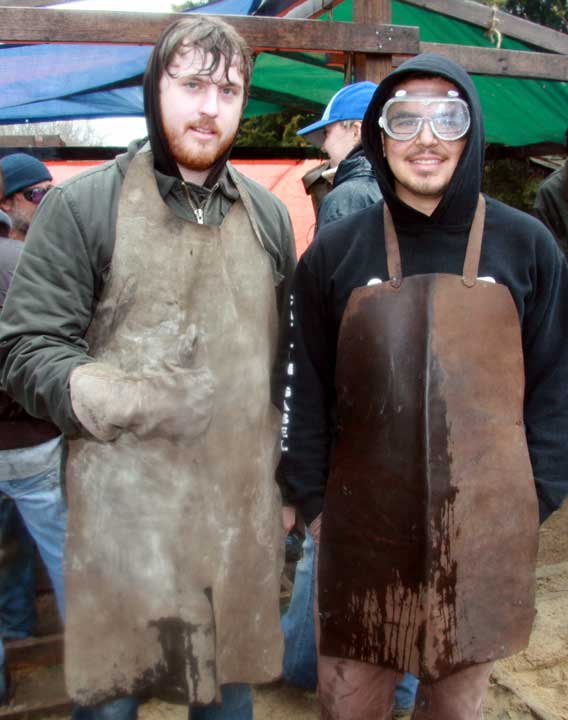
| The Extraction Team |
The Hammer Team |
'Poke it!' Probing the interior to determine the location
and relative size of the bloom. |
|
|
|
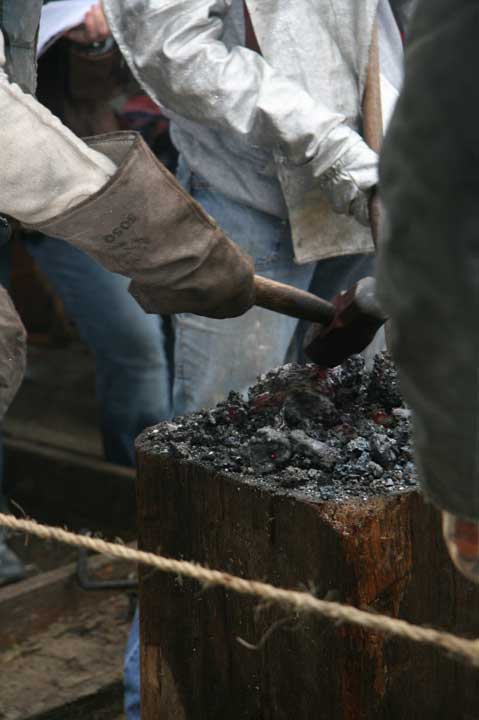
| Scooping out the remaining burning charcoal to expose the top of the bloom
and slag bowl. |
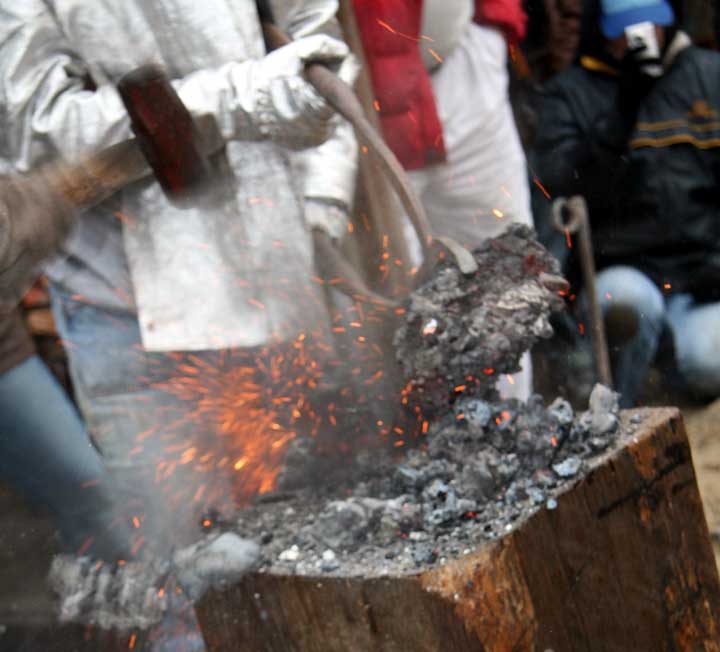
Using the 'Thumper' to both partially compress and also loosen the white
hot bloom in place. |
With the bricks of the plinth open at the front, the thumping action has
driven the slag bowl down through the open bottom of the furnace. As well
a large triangular piece of the lower furnace wall has broken loose. (seen
at lower left) |
|
|
|
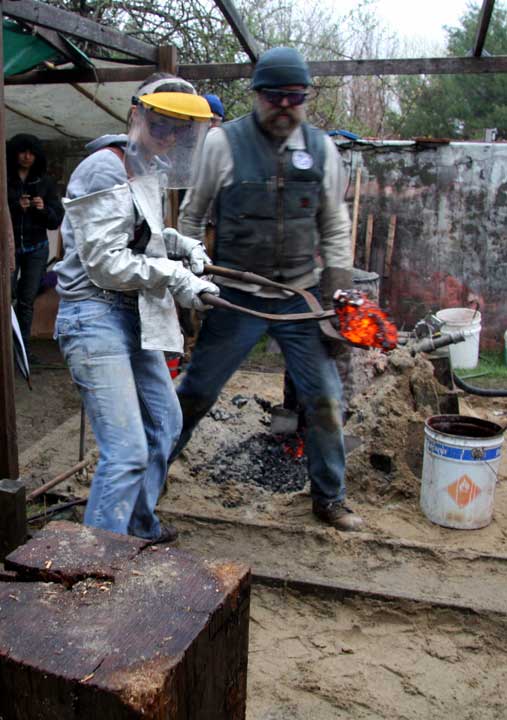
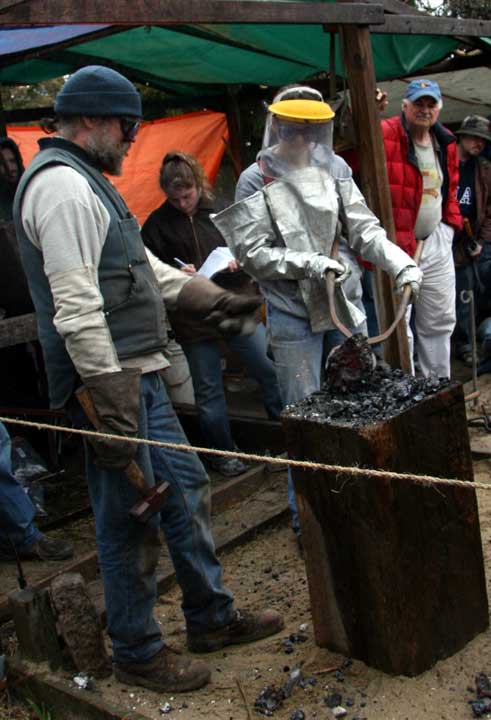
| The hot materials are quickly shoveled away. The hot bloom mass is clear
as the bright yellow material. |
Reaching in with the bloom tongs to grab the bloom mass. |
Got it! |
|
|
|
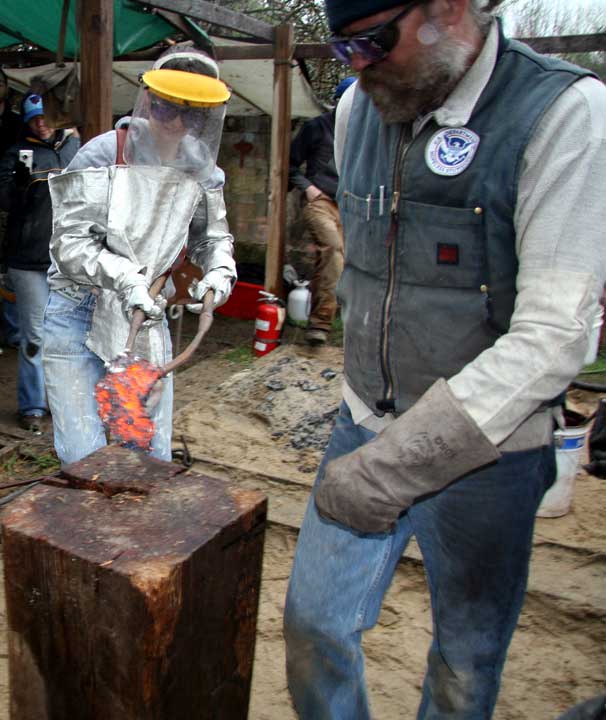
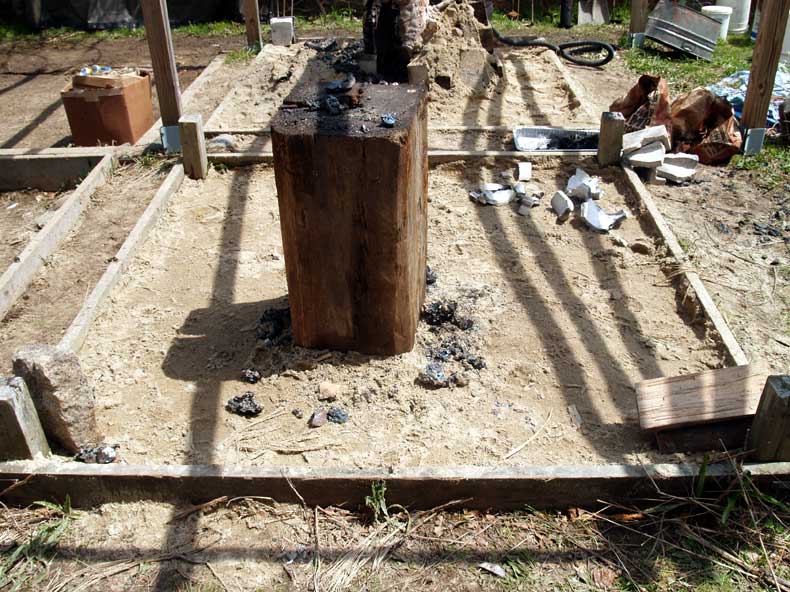
| Moving quickly over to the nearby wooden stubb. |
Working the surface over quickly with the hand hammer to remove loos slag
and 'mother'. |
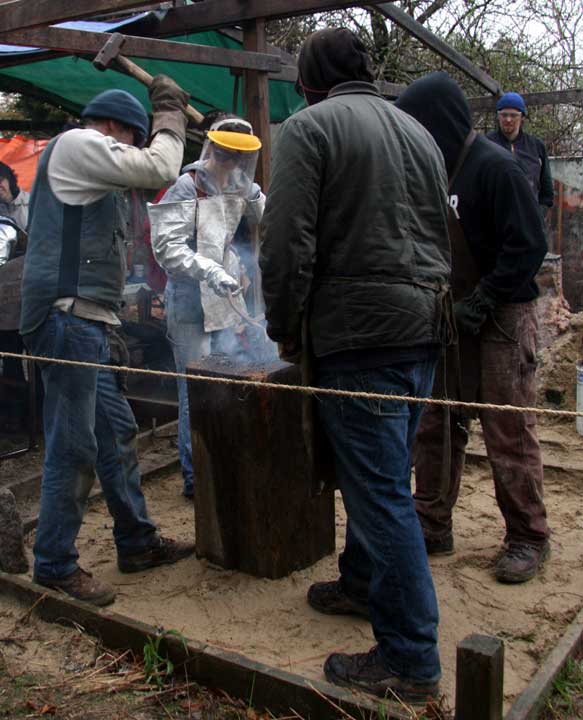
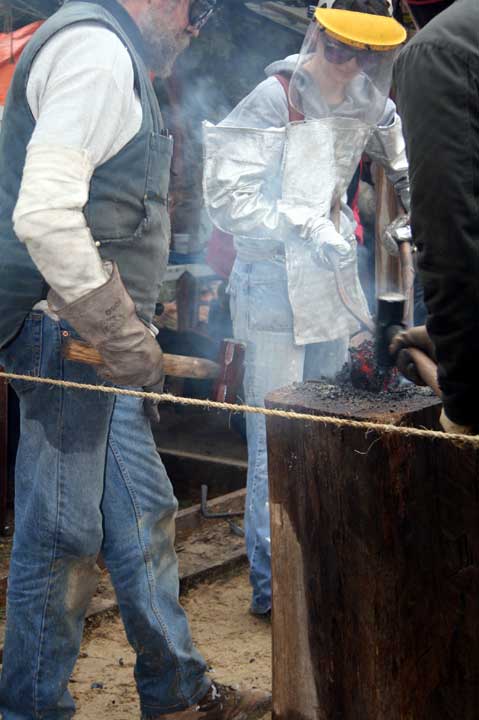
The Hammer Team at work - compacting the hot bloom. |
|
|
|
| 'What is that other thing?' Pulling clear the lower slag mass to double
check |
Getting a better grip and rotating to clear the tongs. |
Light taps with the hand hammer revealling the nature of this material. |
|
|
|
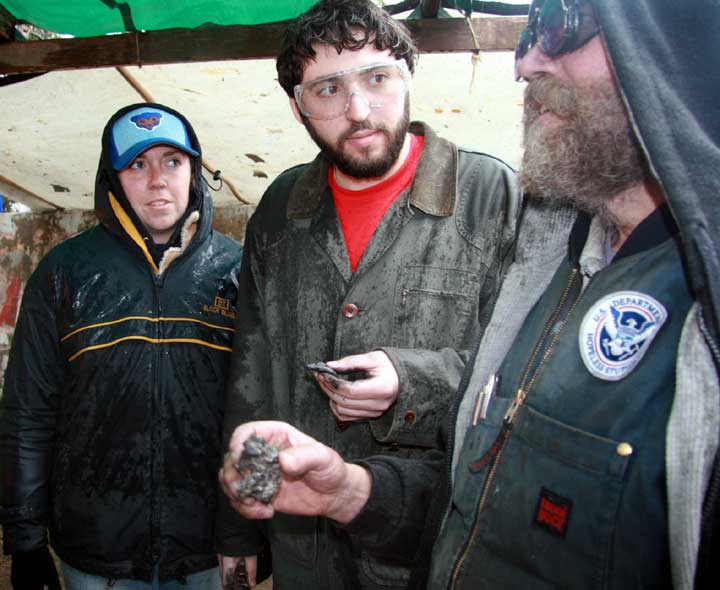
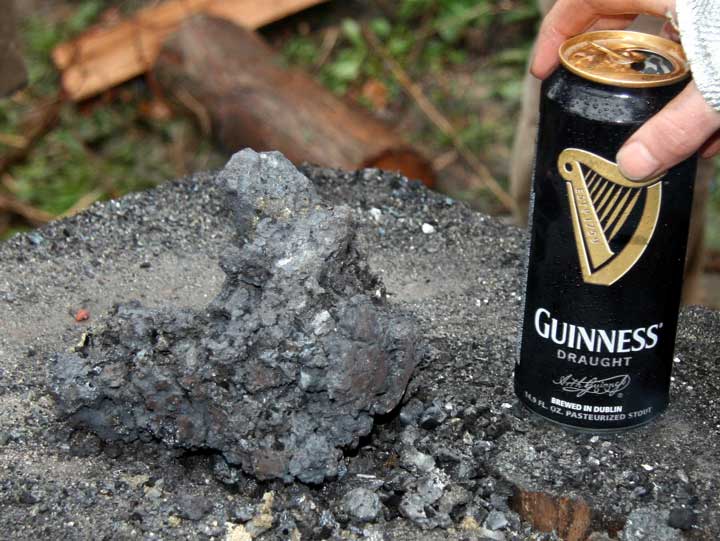
'Its only slag!' Note brittle pieces, fast cooling
(colour shift). |
Final bloom ! (with reference object) |
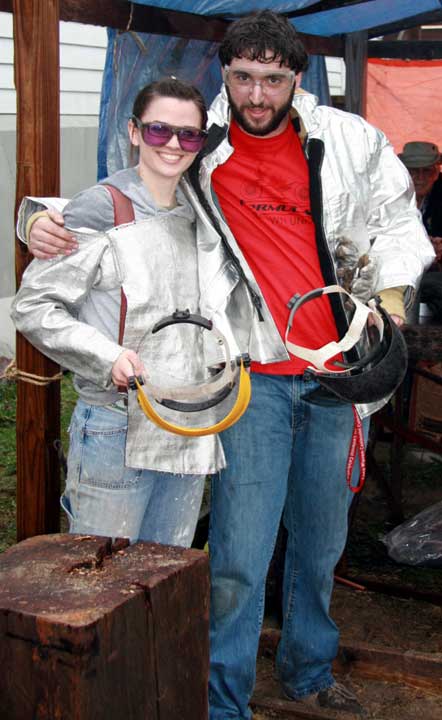
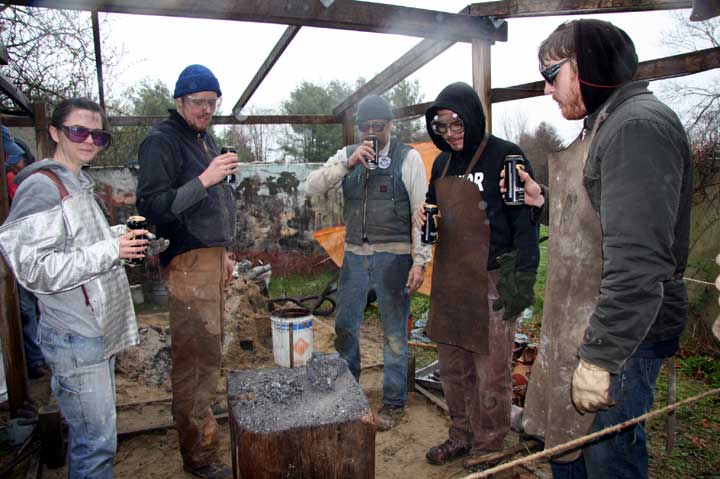
Traditional finishing ritual for the working team. |


