
Team Members: Neil Peterson, Richard Schweitzer, David Cox (last minute assistance by Darrell Markewitz)
The Iron Smelting Team of the Dark Ages Re-creation Company was approached by Darrell (wearing yet another 'hat') about undertaking a demonstration at this year's Canadian National Blacksmith's Conference as part of that event's public outreach.
The intent of the demonstration was to illustrate a simple to construct furnace made of easily available materials, DARC's own Econo Norse system. This included using the 'DARC Dirt' ore analog (made of potter's oxide). The activity was also carried out over a single day. With full expectations of a successful smelt, part of the bloom produced would be incorporated into the work of one of the other featured demonstrators, Jesus Hernandez.
Related Links:
Commentary - by Neil Peterson
This smelt was rather amusing. For 90% of the smelt things seemed to go along
just fine. At two points we did get some "burbling" from the airflow
and needed to tap. But things were so mellow Richard even had time to try (and
fail) at making a bead with the tap slag. We had the chance to show many folks
what was going on by offering tours of the view down the airpipe. What we didn't
know was that the bloom had formed off to the side and the slag bowl had formed
quite high.
Each time we tapped it re-sealed much more solid leaving us at a point where
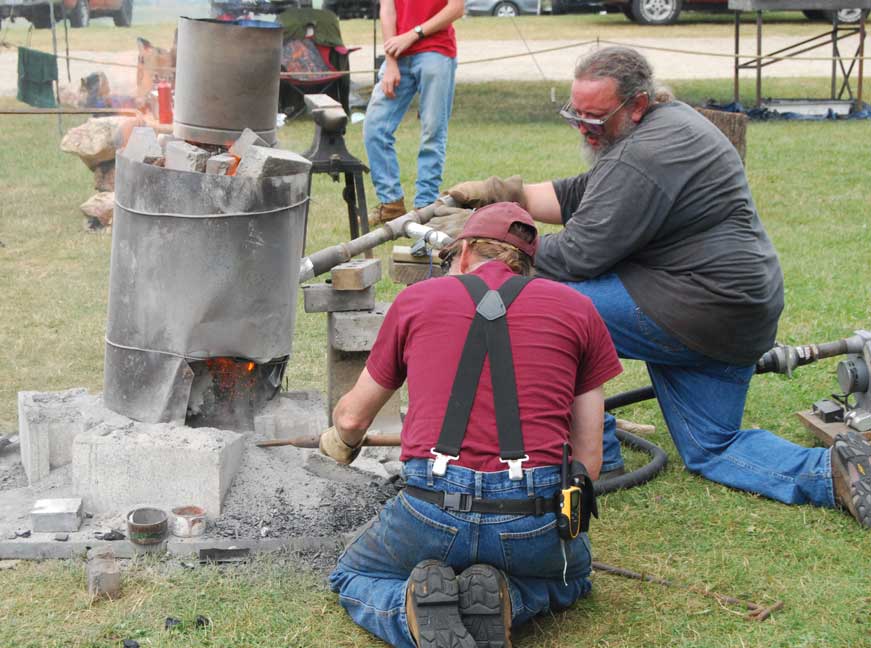
we needed to tap again but couldn't get it to tap. We tried from the sides,
we tried pulling out the fines in the base but we couldn't get anything through
the base of the slag bowl. We even tried running a rod down from the top to
poke a hole straight down, but only managed to weld the rod onto the bloom,
which led to some funny comments when we extracted.
This inability to execute a third tap meant we needed to finish early in order
to not lose the airflow and have everything freeze. We dragooned a couple of
blacksmiths to hammer for us, and grabbed Darrell who was ordered to pull the
bloom as we freed things up. We then knocked down the smelter - even though
there was still charcoal and ore in the stack. This is the reason for the "minus
4" in the ore total. 4 Kg of ore was in the stack but not yet down to the
bloom when we opened.
The opening and extraction went well sending the bloom over for a good consolodation.
Our efforts to keep a forge going in the smelter didn't go so well as the tuyure
was nearly frozen off. We did keep things hot enough that we could keep the
bloom very warm until another forge could be prepared (it was nice being at
a blacksmith's conference!). When another forge was ready we walked the red-hot
bloom over to it. At that forge they consolodated again, then cut it into quarters.
One quarter was then further worked until it was ready to use in the blademaking
workshop
Conclusions:
1) Overall set up
As usual this setup roved its worth. It took less than an hour to set up, Less
than an hour to pre-heat. Then a simple straight forward 5 hour smelt - until
the hassle at the end. Without that problem we would have had no issues in finishing
off the smelt as planned. Even with the problem it produced a very nice little
bloom.
2) Reaction to problems
Again this smelt proved the need to react FAST when problems crop up. We did
react fast enough to save the bloom. We also reacted fast enough to save the
smelt - it is just that our efforts to fix the problem failed. By reacting fast
we actually had time to try different methods to save it one of which might
have worked. If we had delayed our reaction we would not have had that opportunity.
3) Planning for failure
A little fine tuning on the plinth design leaving more accessable openings would
have allowed us more opportunities to move the base and perhaps succeed on a
tap.
Furnace construction details
Note: There were no field drawings made.
| Furnace Internal Diameter | 25 cm |
| Stack Height (above tuyere) | 45 cm + 20 cm collar |
| Tuyere Size | standard 2.5 cm dia ceramic tube |
| Tuyere Angle | 22 degrees down |
| Tuyere Penetration | about 2 cm |
| Tuyere Height | 20 cm above base |
 |
 |
 |
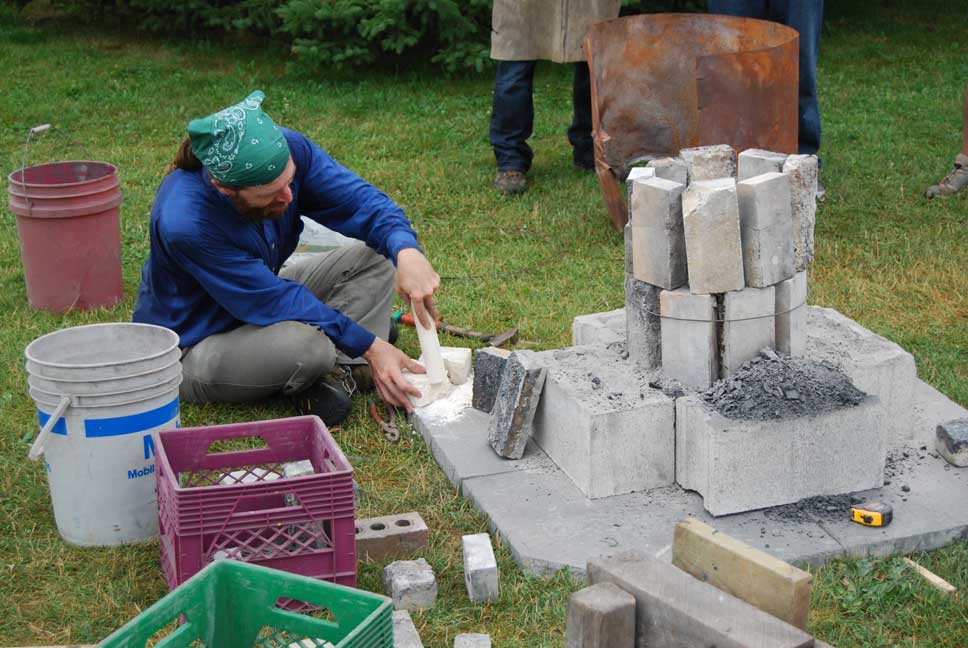
Richard cutting firebrick to hold tuyere. |
Setting the tuyere in place in the second row of brick. |
Neil helping to wire individual rings of bricks together. |
 |
 |
 |
Fitting the metal collar in place. |
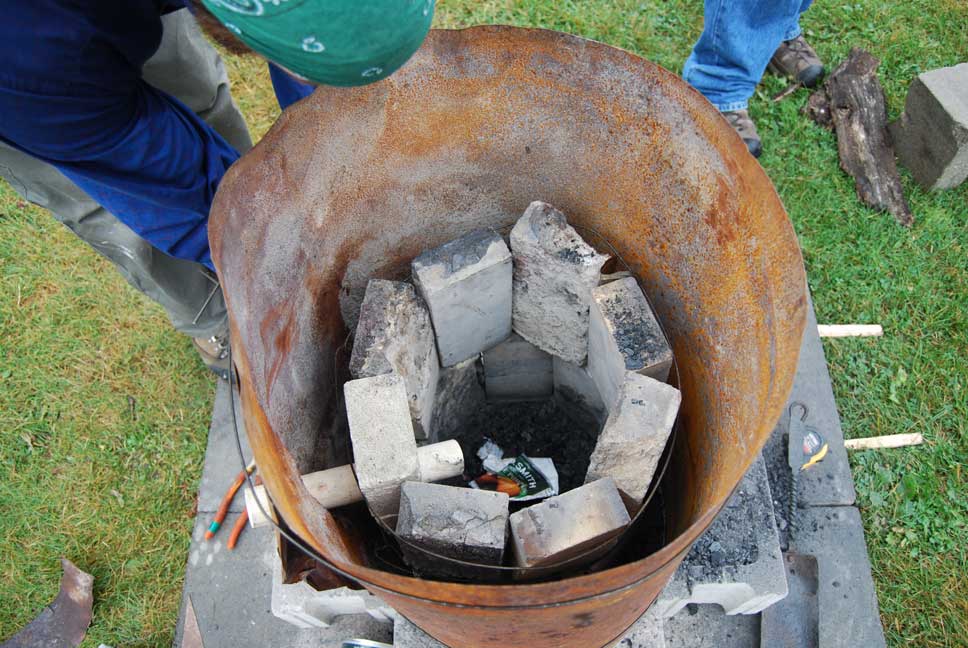
View down the collar, showing first two rows of brick
in place inside. |
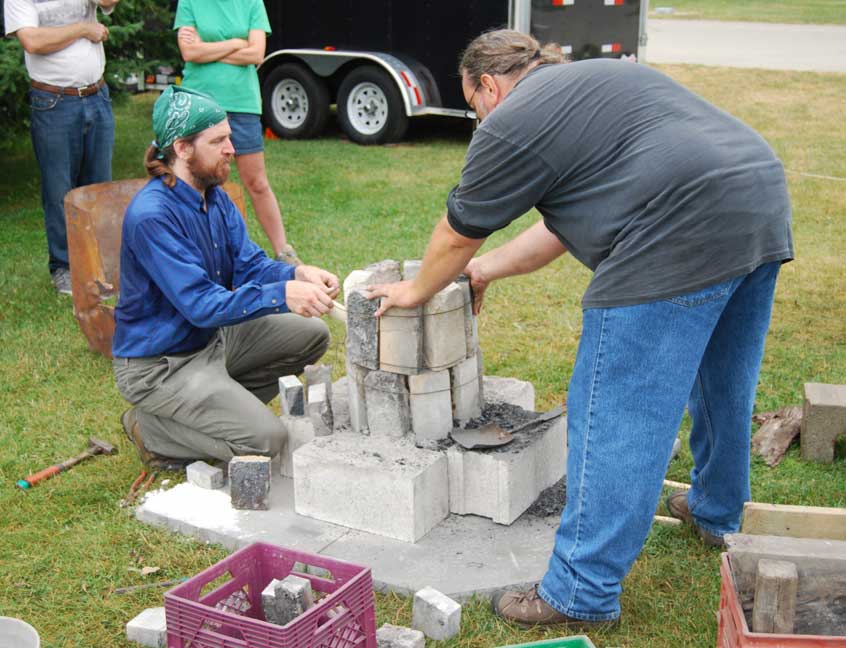
Sand and ash packing added to secure the first two
rows, third row of standard construction brick being added. |
 |
 |
 |
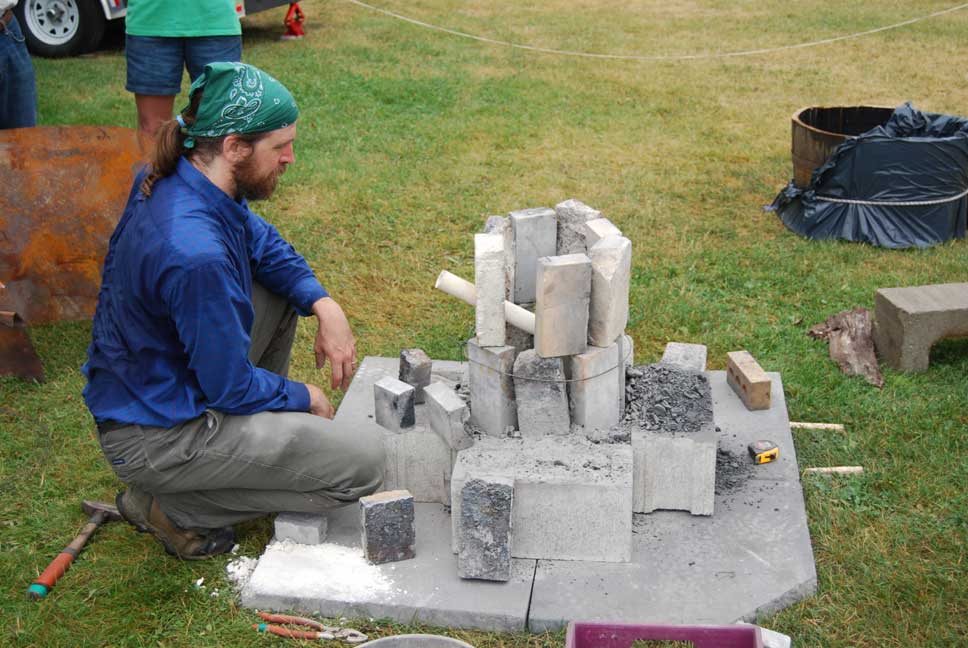
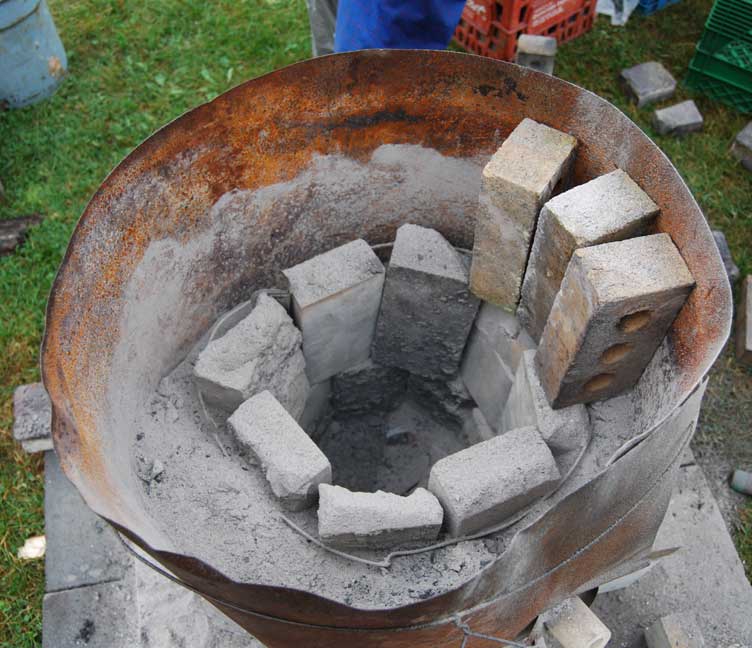
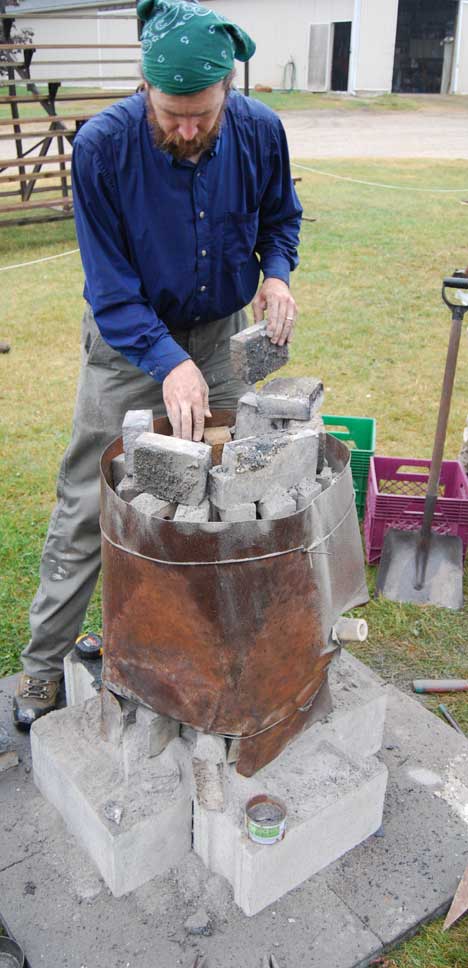
Placing additional layer of bricks (on their sides)
to extend stack height. |
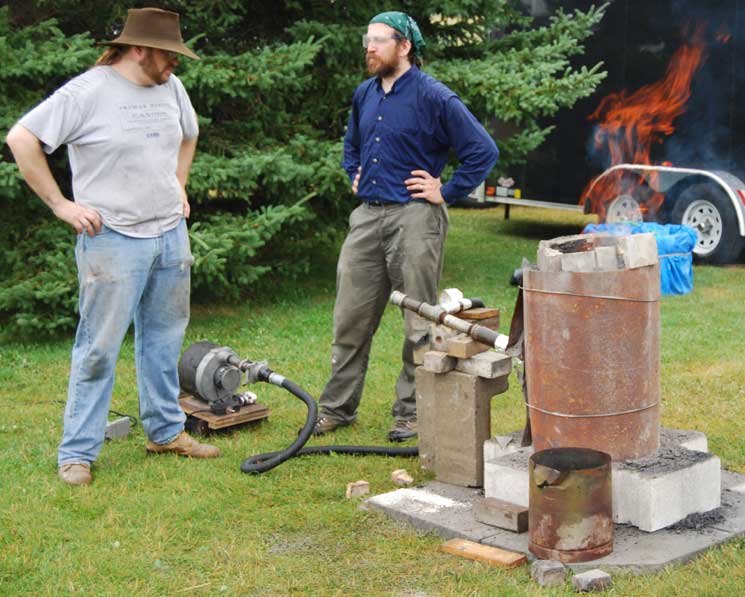
Setting the air system to the tuyere. Dave gets ready to start the wood split pre-heat fire. |
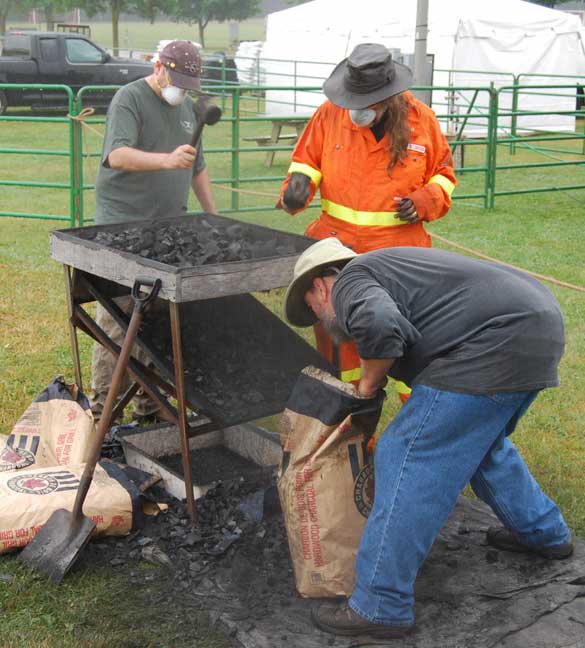
Charcoal Monkeys! (Dr. Ron Ross in the jumpsuit.) |
Pre-heat Phase
 |
 |
 |
 |
Striking a Manly Pose Addition of air via standard blower |
Adding first fill of rough charcoal. |
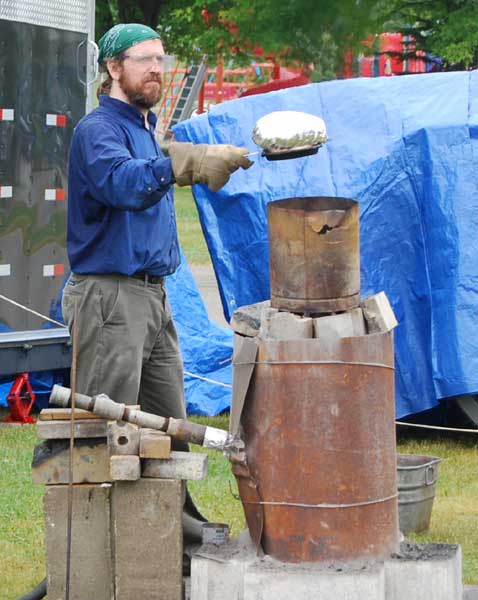
Jiffy Pop Ritual |
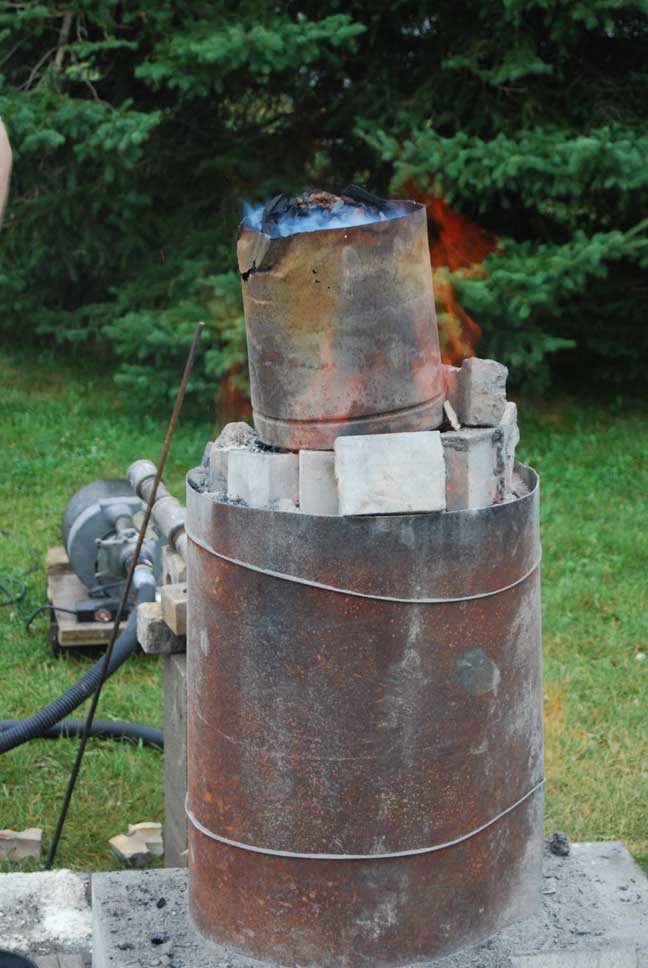
Side view of furnace with air system. |
 |
 |
 |
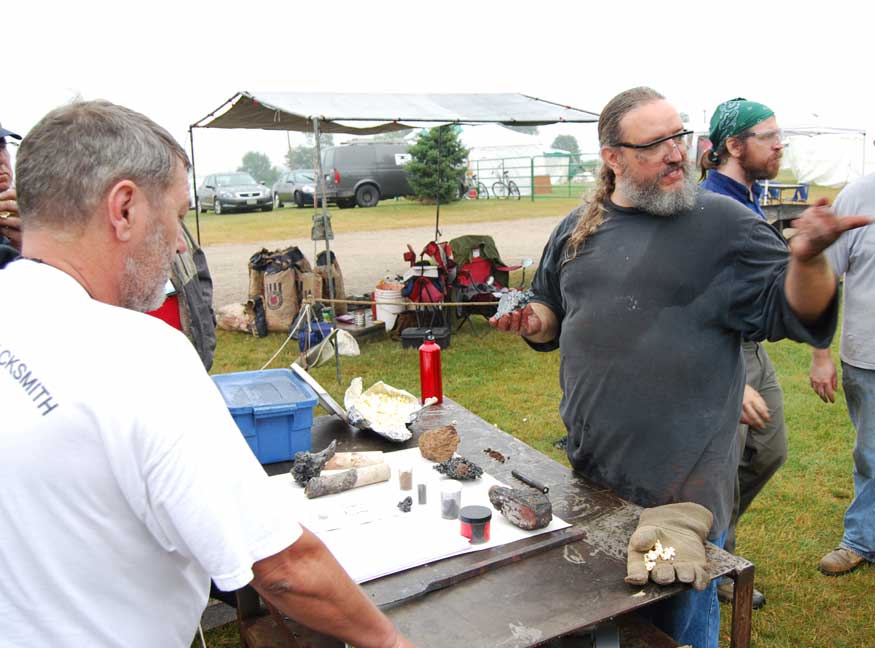
Explaining the process to the audience. |
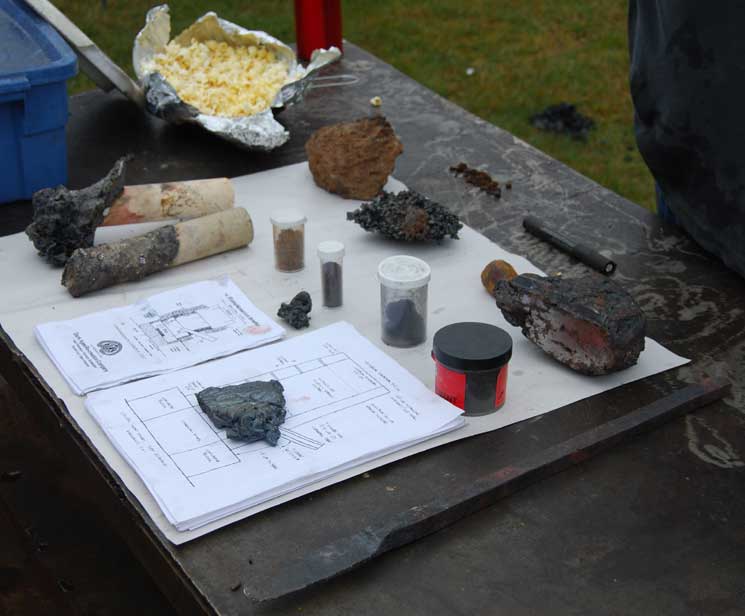
Display samples (with complimentary 'Smelter Corn') |
Addition of first ore. Note reduction fire at top. |
 |
 |
 |
Adding ore via 'standard scoop' |
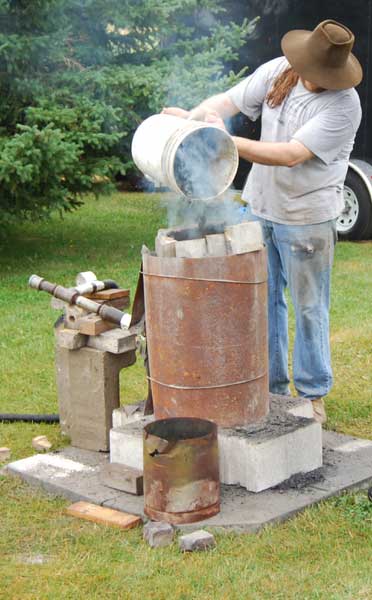
Adding charcoal via 'standard bucket'. |
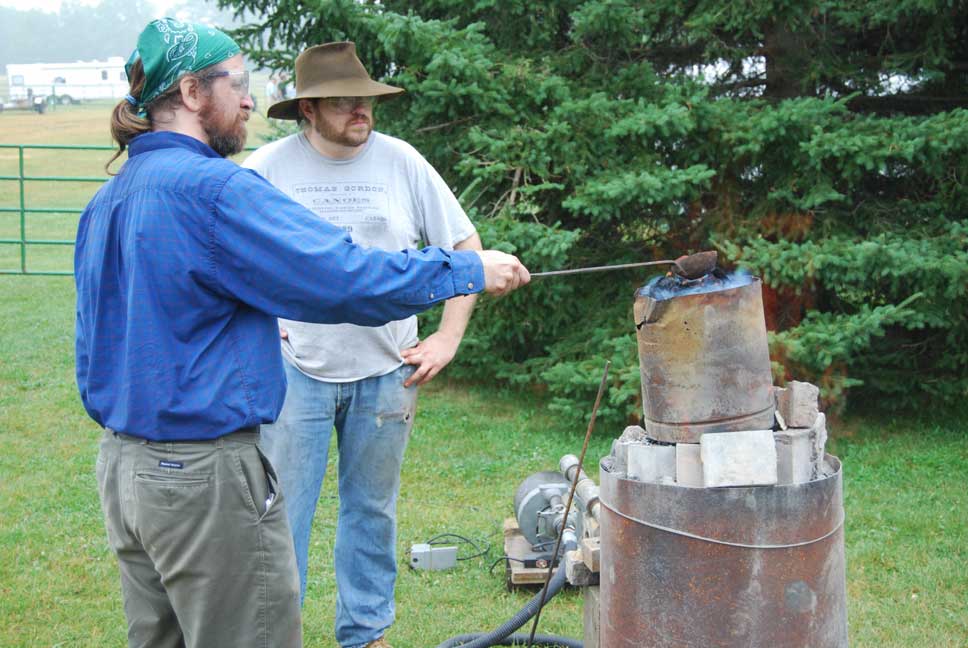
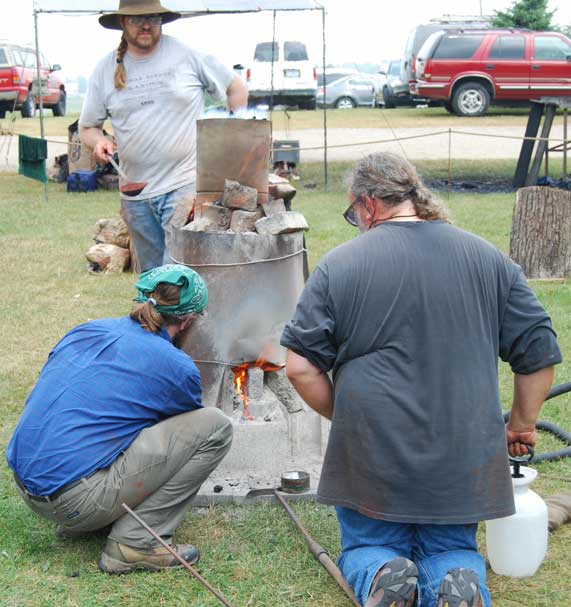
Checking tuyere view port. |
 |
 |
 |
Attempting to wide slag into a bead! |
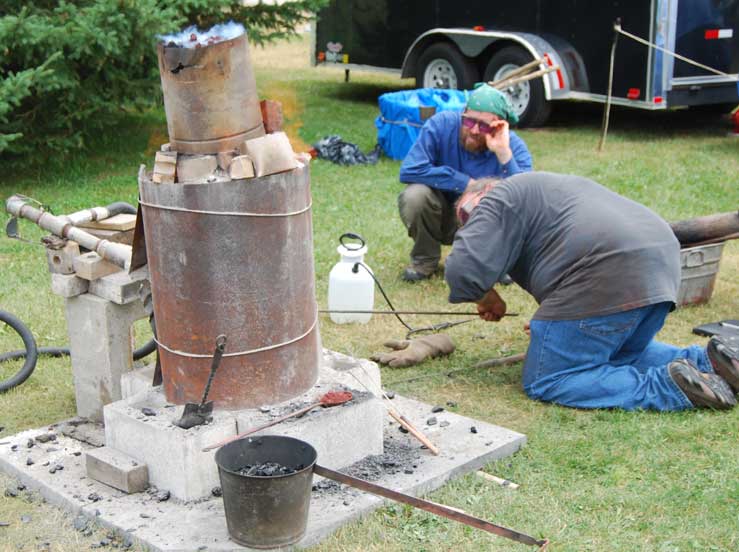
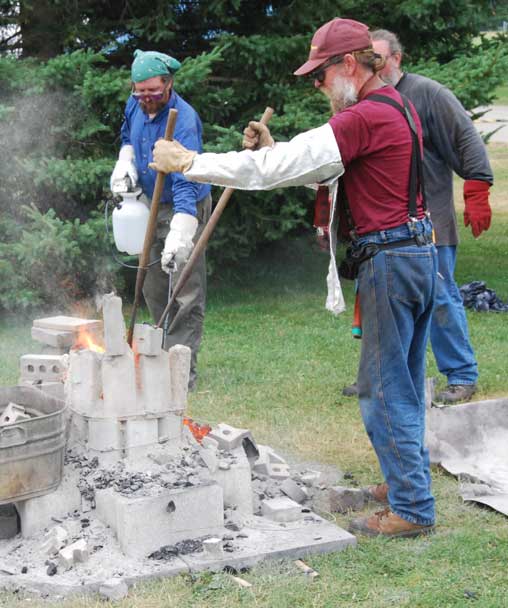
Attemping a slag tap to lower the level... |
... and some guy sticks his nose in. |
 |
 |
 |
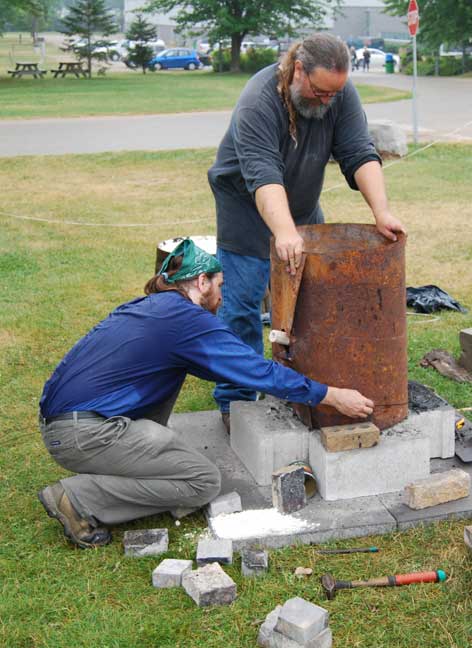
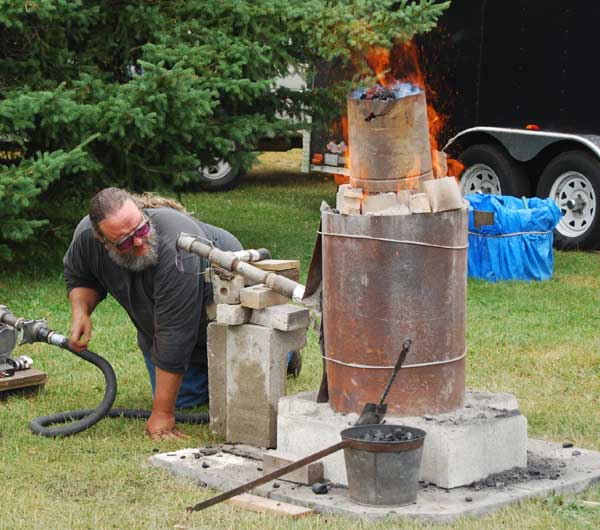
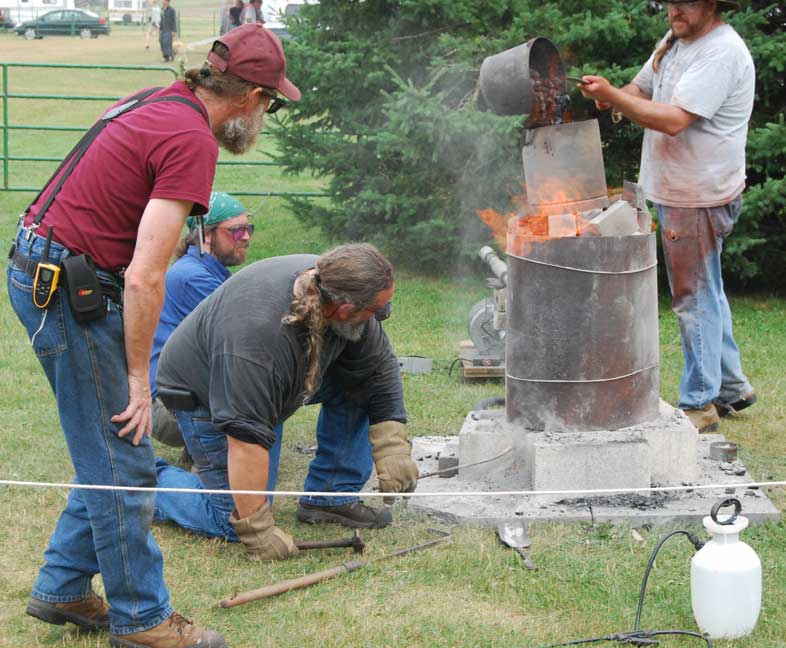
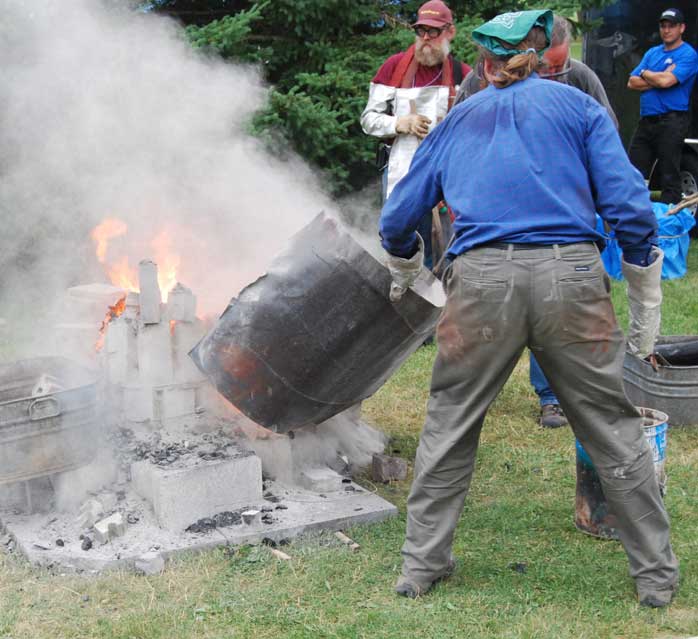
Darrell trying to lower the whole slag bowl, but the air flow is freezing off. |
Fast decision to extract the bloom! Pulling the sheet metal collar. |
Lifting off the hot bricks to expose the interior. |
 |
 |
 |
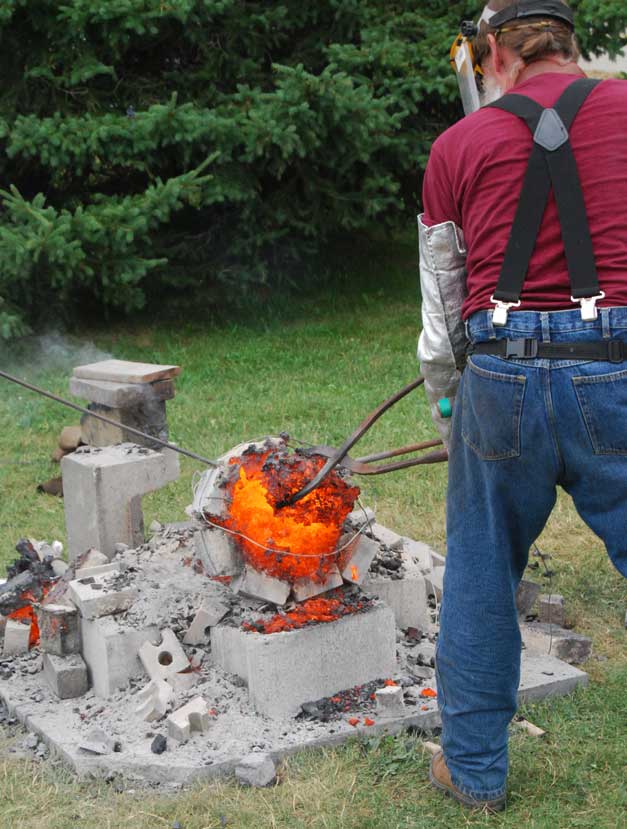
Bloom mass, still in place within the slag bowl. |
Trying to pull the bloom free of the slag bowl. |
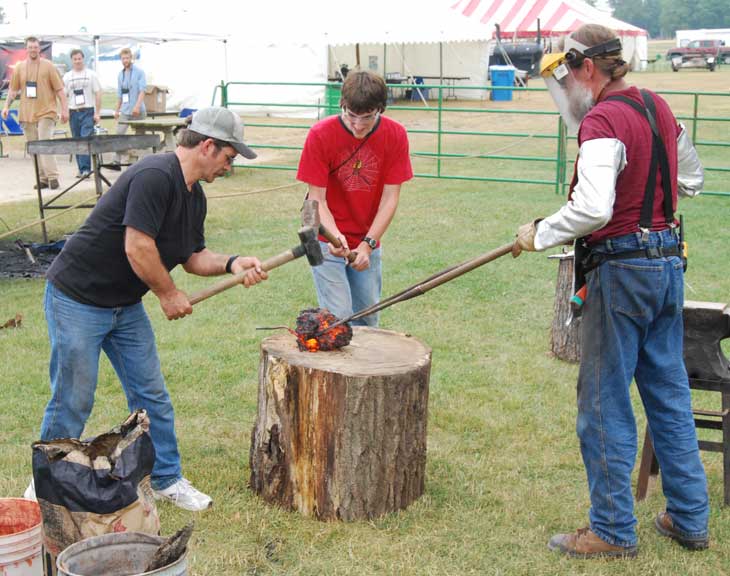
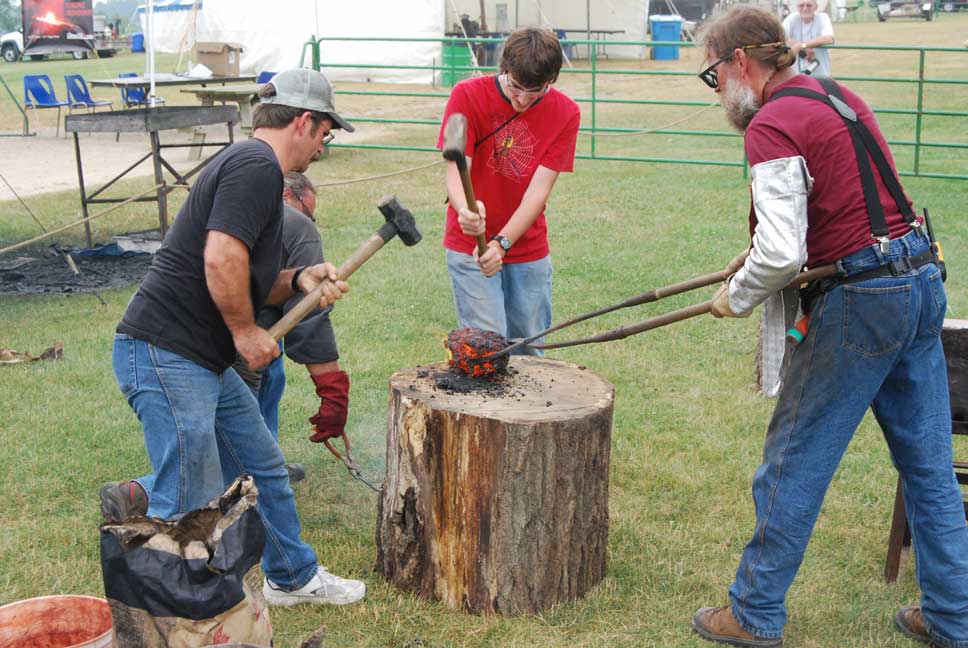
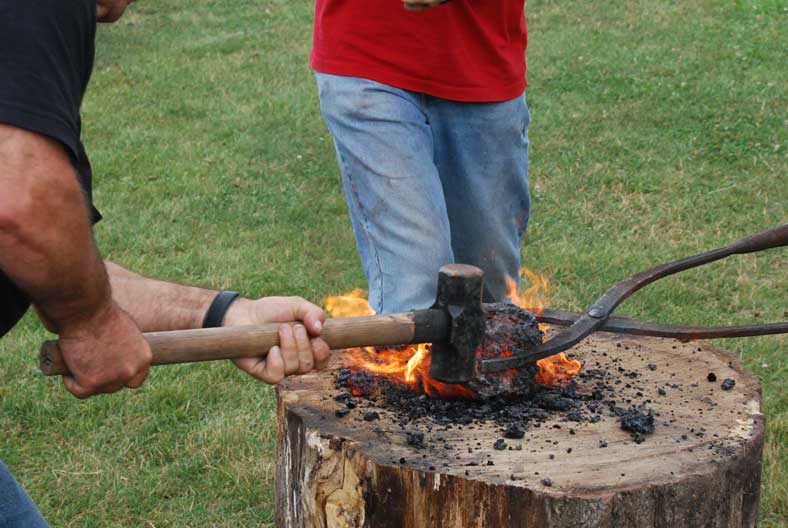
Initial compaction on a wood stump. Dave Kritz (R) on the sledge. |
 |
 |
 |
Knocking off pieces of loose 'mother'. |
Compacting down to a block shape |
Size reduces as the lacy bloom is hammered down. |
TOTALS
|
Yield : About 22 % Smelt Data Sheet (alternate available on the DARC report) The construction of the furnace was a bit rough, partially due to the
condition of the fire bricks (which had been used for a number of other
furnaces). Although the furnace ran well initially, it was found on extraction
that some of the brick pieces around the tuyere area had fallen into the
furnace, dropping in excess sand / ash packing and diverting the air flow. |