Slag Pit Furnace
'Celtic Iron Age'
November 5, - 2011


Short Shaft Furnace using Industrial Taconite ore

Team Members: Darrell Markewitz, Neil Peterson, Ian Fleming, Lloyd Johnson

The reason to run this experiment was a second test towards a possible public demonstration at the 'Earth Air Celtic Festival', Goderich, for early August 2012. Although the first test October 9 indicated proof of system, the low iron content to that ore produced no bloom. By working with a proven high iron ore, a high yield and good quality bloom should be produced.

(Repeat of background from October 9)

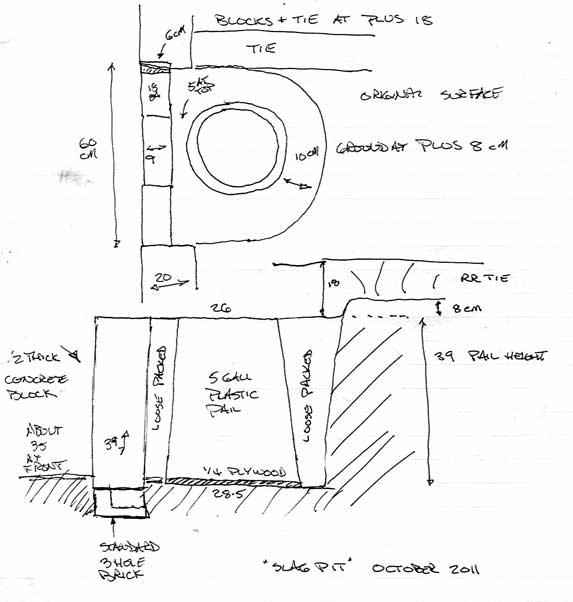
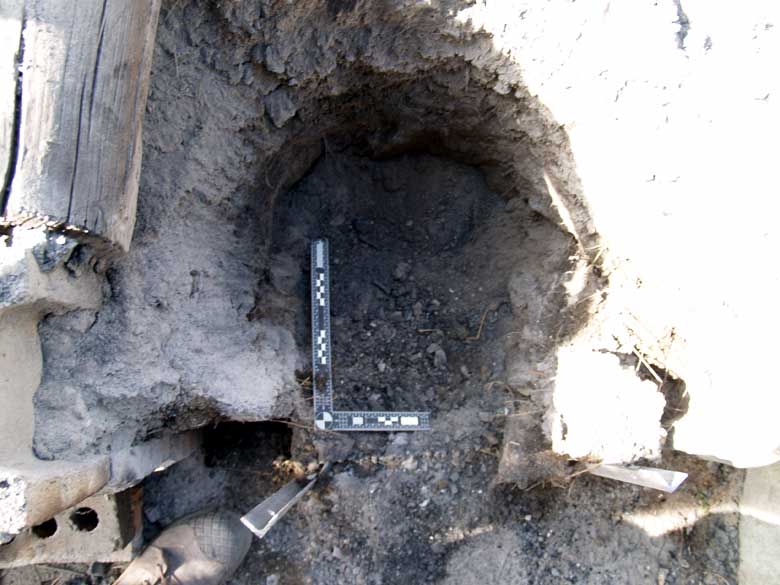
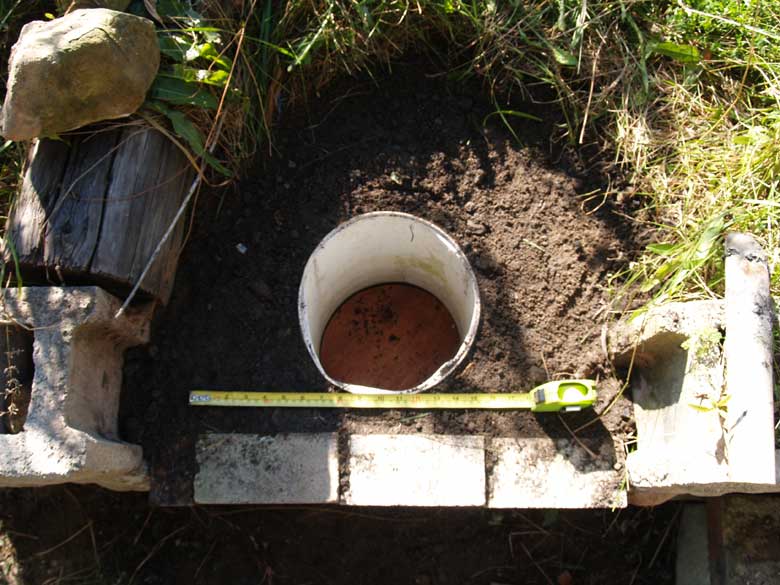
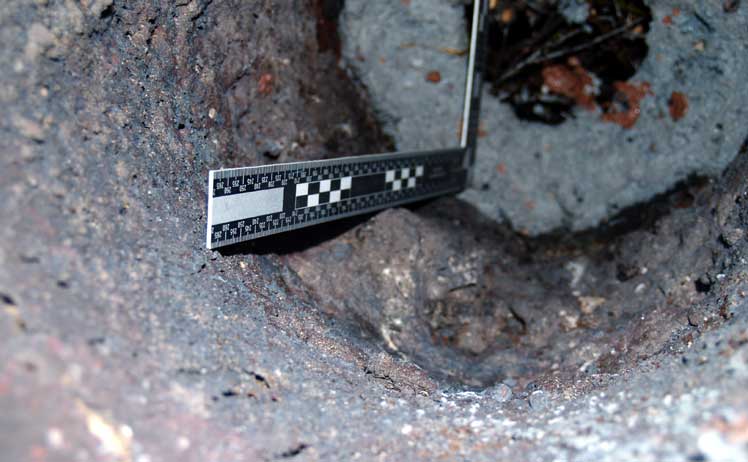
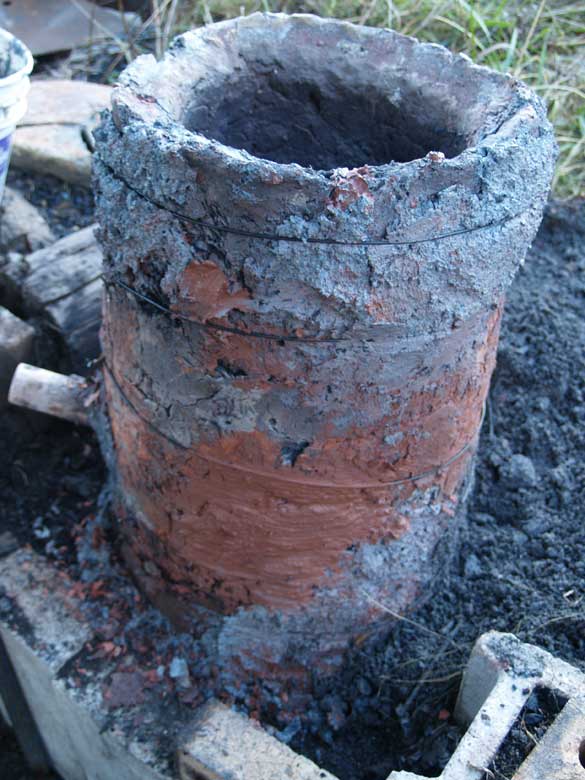
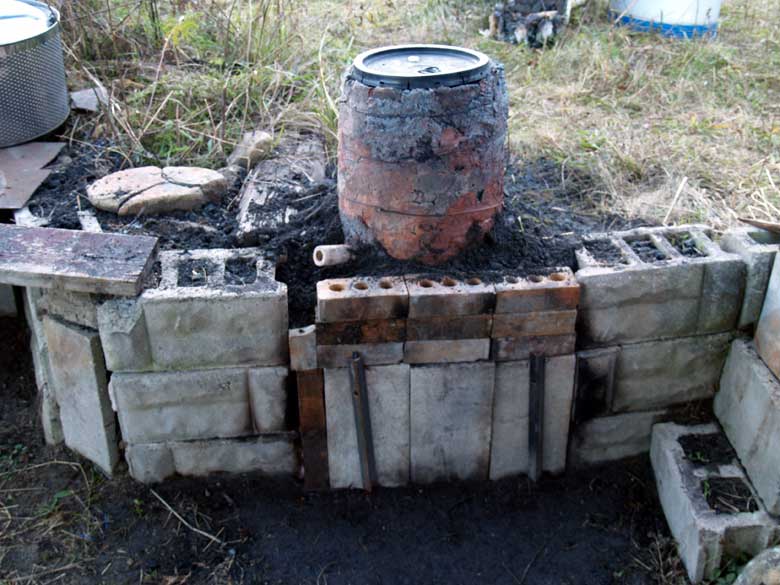
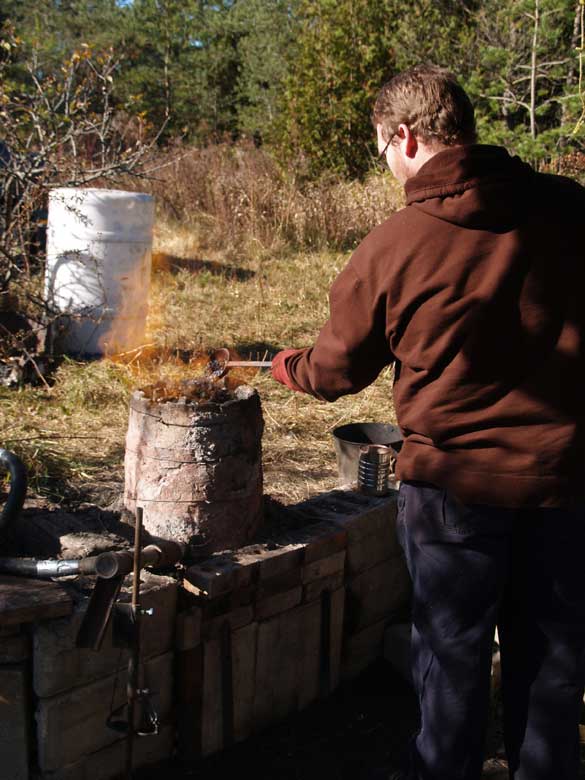
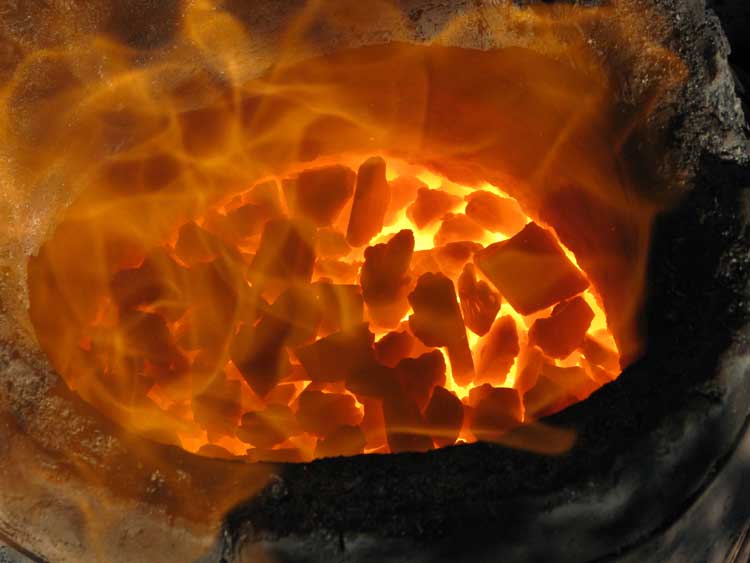
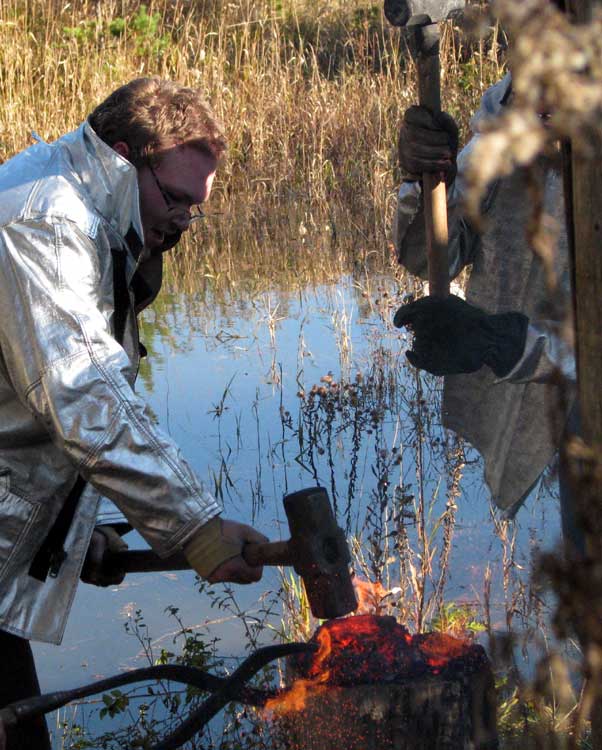
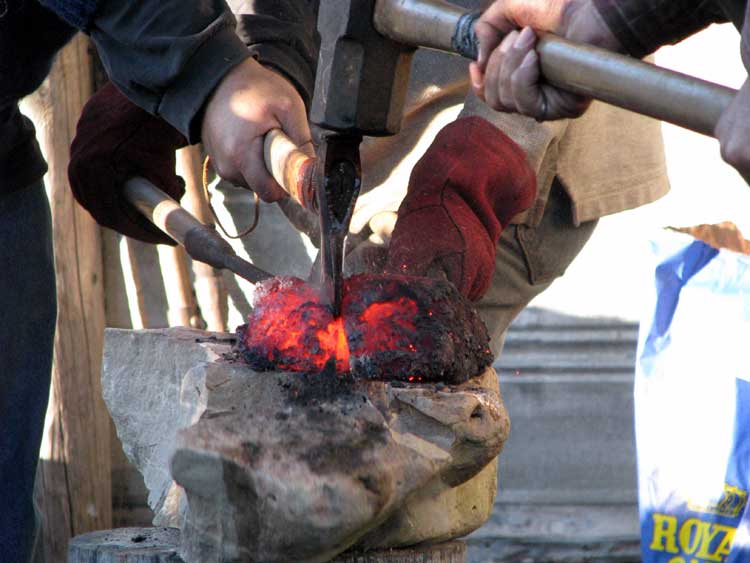
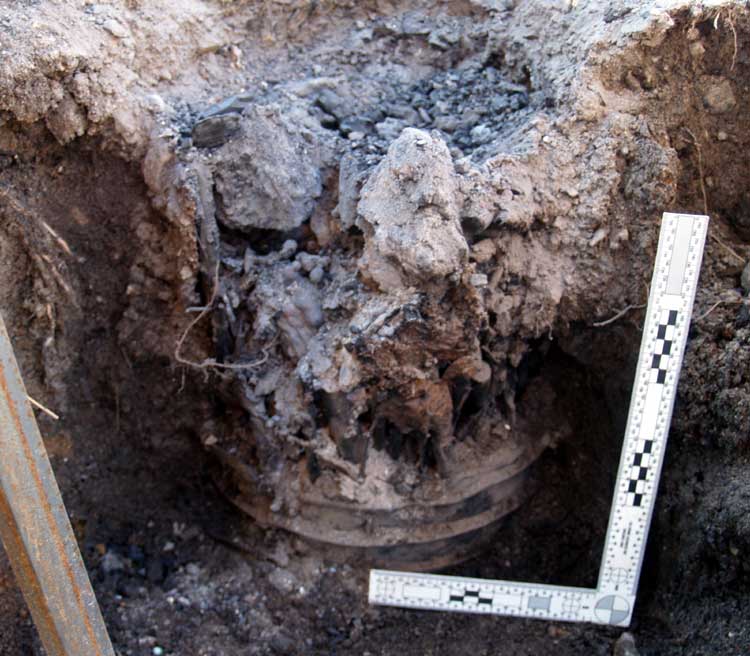
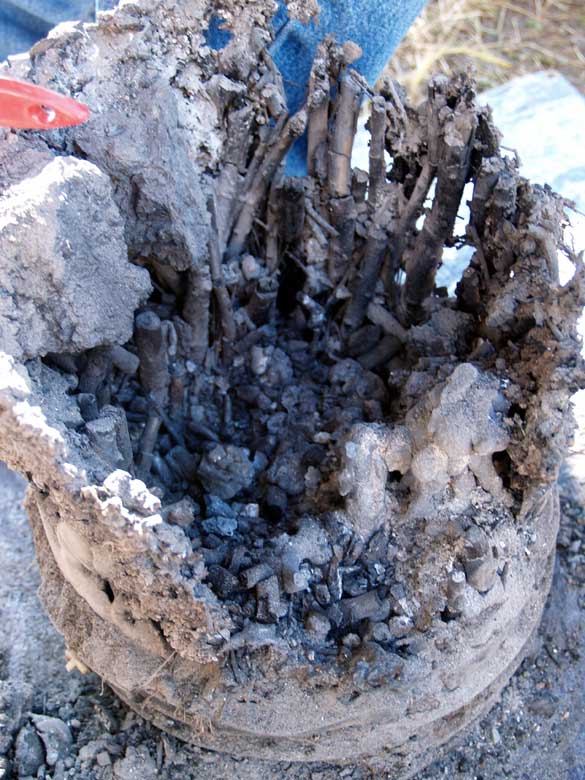
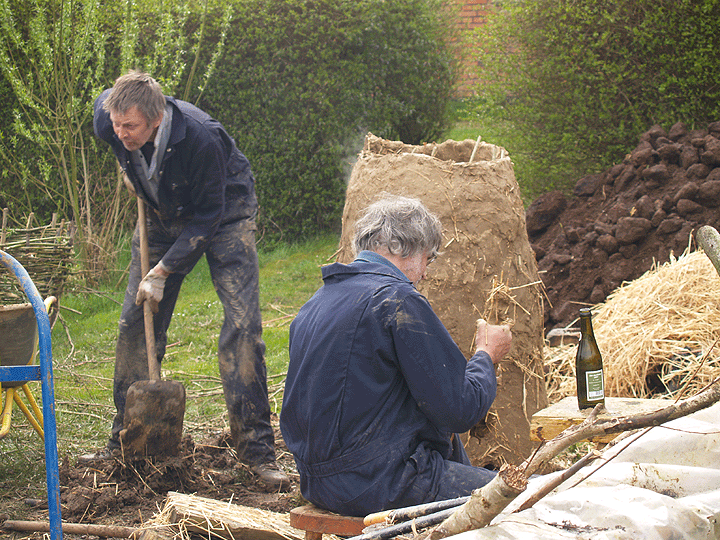
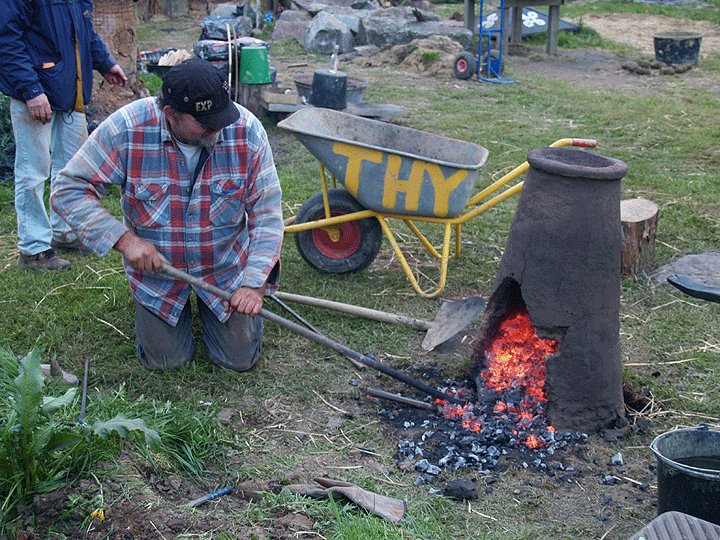
The Slag Pit style furnace is an older type than the Slag Tapping furnaces that have dominated our work to date. The base of the furnace has a shallow hole or pit dug below ground, which is then filled with some kind of vegetation. In use, the vegetation at first supports the burning fuels in the furnace itself. The inital slag forms into the normal bowl shape below tuyere level. As both heat increases and slag accumulates, at first runnels of slag will drip down through the vegetation. Increasing heat first carbonizes the plant materials, then the weight of of the slag mass slowly settles into the pit. Designed and managed correctly, there is no need for additional tapping of slag. The upper furnace structure itself varies, ranging from smaller bellows blown to larger natural draw types.

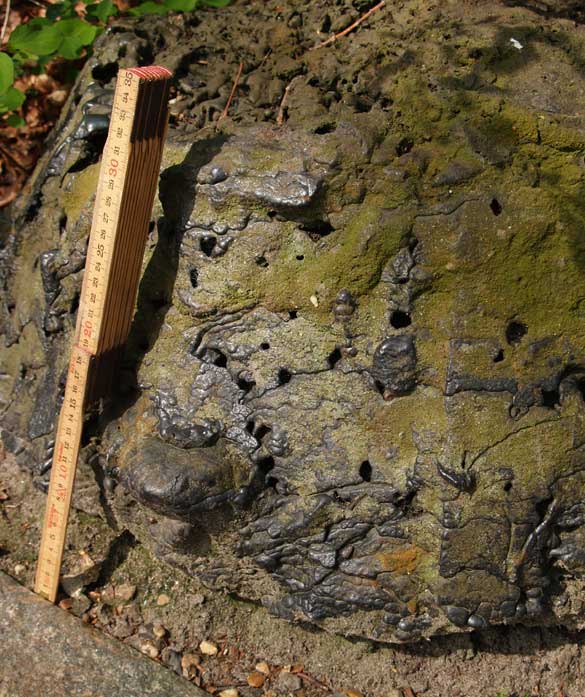
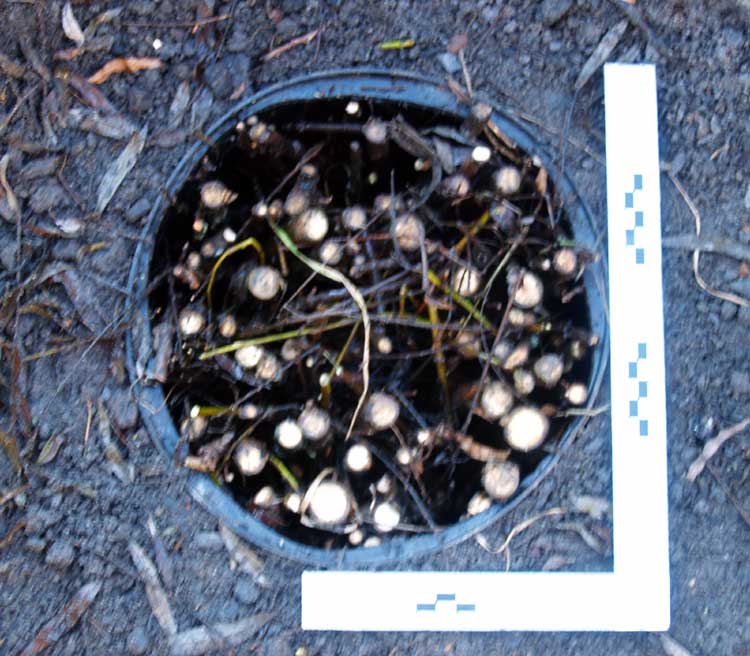
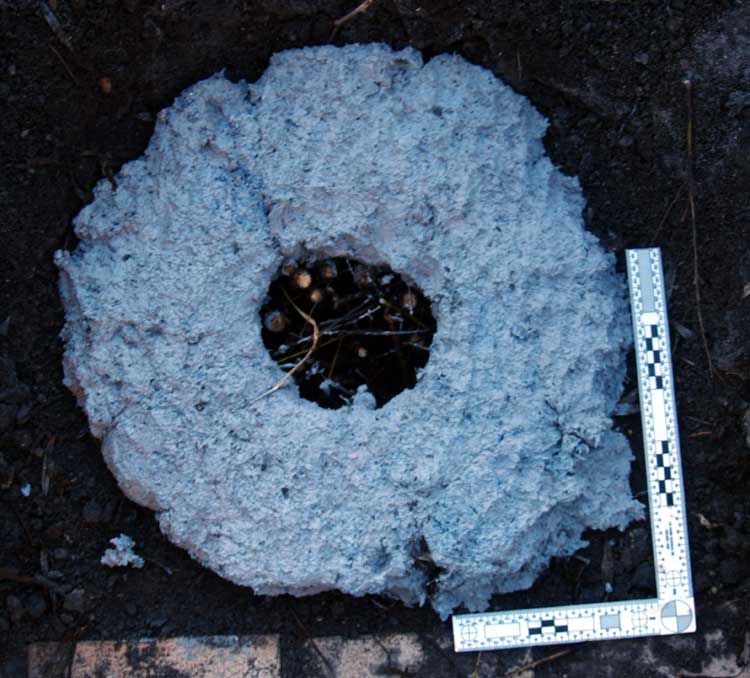
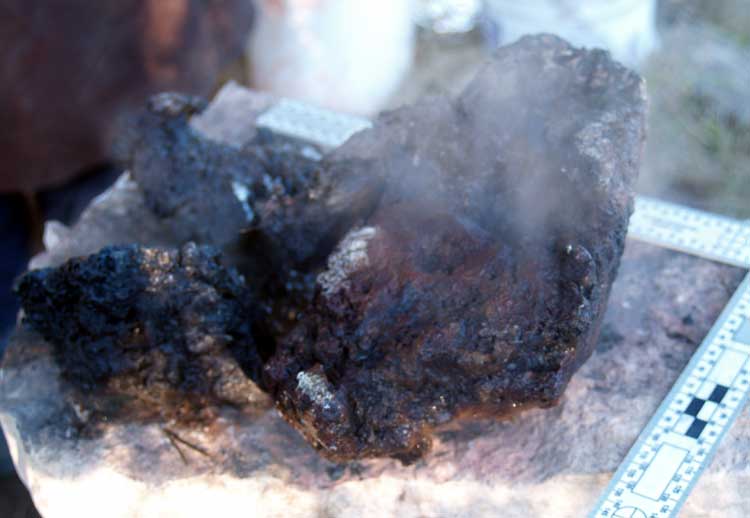
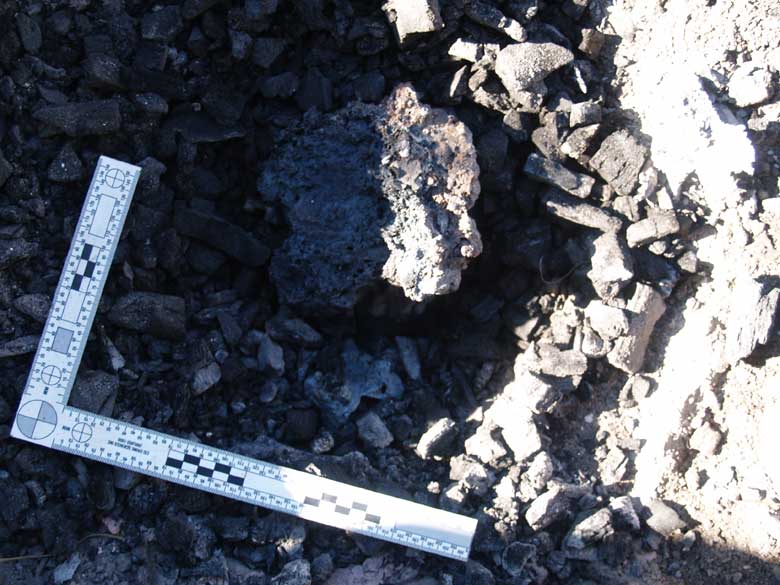
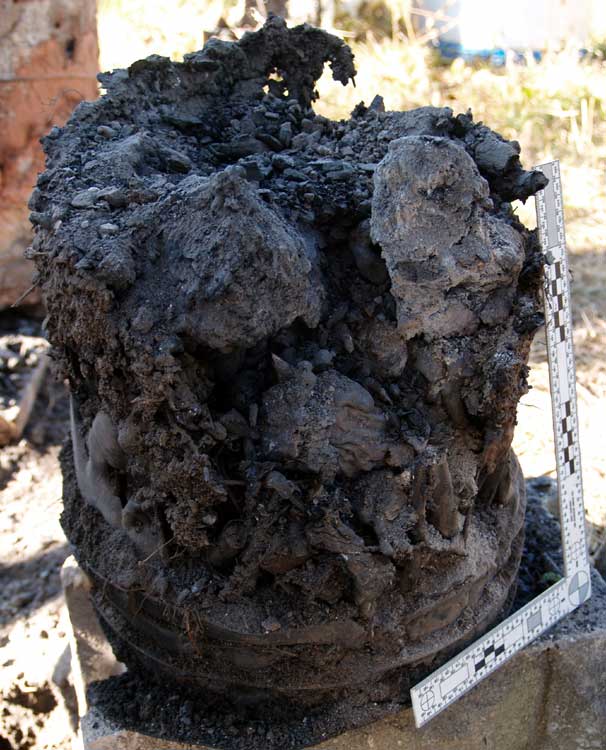
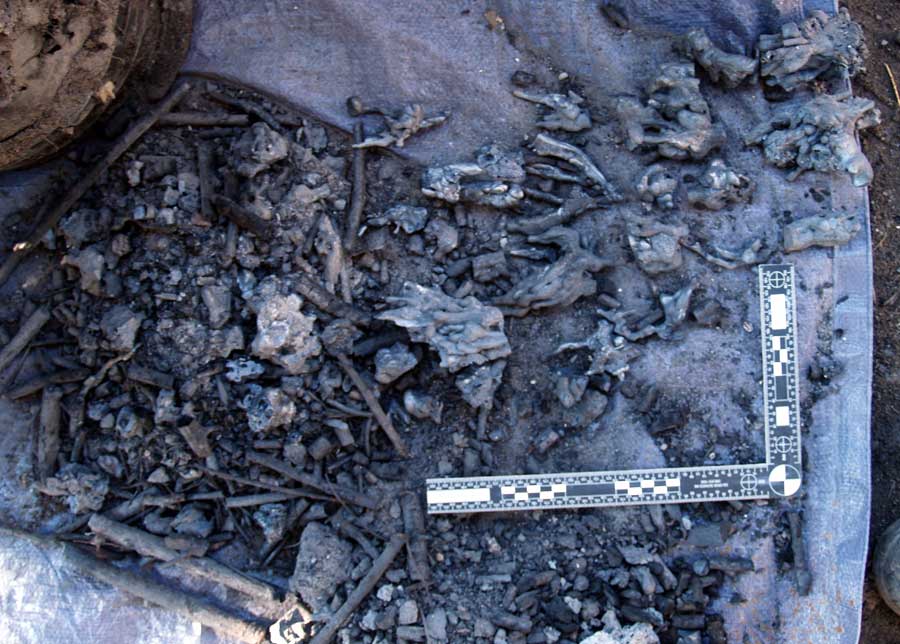
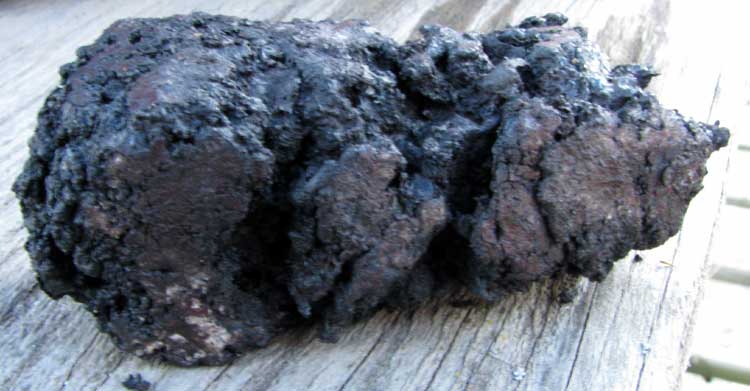
The slag pit arrangement was common throughout Europe, roughly up to the end of the Roman period. The slag blocks created are almost industructable, and thousands remain. In Denmark alone, over 2000 have been found. Typically these are roughly the size of a bushel basket. (Image at the right is from the lower Jutland area, from my 2008 trip.)

I had seen both Jake Keen and Jan Jennisen both build and fire slag pit furnaces at the 2008 Heltborg 'Iron Smelting Seminar at Thy'.

Those interested in more details on the slag pit furnace are refered to the work of Thijs van de Manakker :

A short photo essay

'Experiments with a Slag Tapping and a Slag Pit Furnace' (PDF download)
Originally published in 'EARLY IRON PRODUCTION Archaeology, Technology and Experiments' - Edited by Lars Chr. Norbach


Furnace Layout

Layout of the Furnace

The furnace itself was a re-use of the structure built for the October 8 experiment.

The general construction of the working area was the same as well.

Pit Depth
39 cm
Pit Diameter
26 top - taper to 28.5 base
Furnace Internal Diameter
25 cm
Stack Height (above tuyere)
43 cm
Tuyere Size
standard 2.5 cm dia ceramic tube
Tuyere Angle
22 degrees down
Tuyere Penetration
5 cm
Tuyere Height
12 cm
above 'donut'

Detail of the Base

One major change was the addition of a clay ring 'donut' shape at the furnace base. (Based on suggestions made by Lee Sauder and Thijs van de Manakker.)

Construction & Set Up

Again astandard 5 gallon plastic pail with the bottom cut off was used as a form (placed upside down). The fill around the form was packed down to make a stable surface.

The pail was packed with pieces of brush (mainly willow) with diameters ranging from .2 to 1.5 cm. The source was branches which had spent a month soaking in the pond, so were wet (actually slime covered). Generally the pieces were more random, and less tightly packed than for experiment one.

The clay 'donut' was made of a mix of clay with charcoal fines (on hand). It started 40 cm wide, 4 cm thick with an interior hole at roughly 12 cm diameter.
It would also help seal the somewhat ragged bottom edge of the furnace.
A view of the interior of the furnace, after it was set down on to the clay 'donut'. At this point the clay was pushed outwards to seal the edges, plus shaped to slope slightly towards the hole.
The red line indicates the line of the tuyere.
The scale indicates the original line of the interior of the furnace before the first firing. The typical erosion pattern around the tuyere (central lump) can be easily seen.
Extensive patching to the furnace was required. The grey textured material both filled and held in place larger pieces of wall that had broken off. The red coloured clay was a loose slip painted on to seal cracks. Loops of heavy fencing wire were also used to secure the various broken areas.
After setting the furnace, about 20 cm of the lower area was banked up with loose earth. The clay patches were left over night to stablize.
Next morning, setting up the standard air system, and starting the wooden pre-heat fire.
'Unskilled Labour' - visitors Lloyd Johnson and Ian Fleming breaking taconite ore pellets to size.

Main Smelt Sequence

Images in green by Ian Fleming
Images in blue by Vandy Simpson

Ian is inducted into the smelt team. Here adding ore to the furnace later in the sequence The top of the furnce. The area over the tuyere can clearly been seen as hotter than the area further from the air source - even at the top of the furnace. "Now, who does what?"
As charcoal burns down, preparing for extraction and first consolodation.
Ususually, there was a small separate bloom fragment, quite separate from the main bloom mass. Ian has pulled the fragment, and I carefully compact it while Lloyd watches closely.
We could hardly get it out! The main bloom, with some slag still clinging, just after it is extracted from the furnace.
Compaction continues on the wood stump. The last large fragment of slag has broken off (to the right). The bloom itself is the classic half bowl shape.
'Next step?' Lloyd suggests using a flatter to direct the compaction force better as the team (and a vistor) looks on.
Another heat - working the surface down with the flatter.
With Neil on the axe, Darrell holds while Lloyd and Ian start the splitting process.
Cutting down from one edge on the wood stump Finishing the cut (slightly off to one side) through the original downward side of the bloom. The bloom (in three fragments) right after slicing. The steam is from remaining heat in the main piece after it had quenched.

Excavation
The next day, only a small amount of damage to the upper rim of the furnace.
With the furnace shaft pulled clear. The remaining piece of the slag bowl has been worked free of the remaining charcoal and ash. The remains of the clay pad can be seen to the right.
The top of the slag pit, with the area cleaned down to the original packed earth surface.
Neil clearing away the packing material to expose the slag block.
The slag block exposed. There was more of the plastic bucket liner to the pit remaining, with clearly less slag materials in place compared to the October 8 smelt.
Slag block entirely cleared free. The tuyere point was to the far left corner.
Base area of the slag block. Much of the branch material that held up the base of the furnace is still in place. It was chared on the outter surfaces, but still unburned wood in the middle diameters.
Within the pit, an interlocked series of individual slag runnels. These have been laid out roughly in the order and relative position they were removed from the slag pit. Far right the upper portion, left towards the bottom surface.
The separate bloom fragment, after some compaction. The weight of this piece was about .25 kg

Final Results
TOTALS
Time Set up about 2 + hours
Preheat 1:20 hours
  Main Smelt Sequence 4 hours
  Total Elapsed Time about 5:30 hours
Fuels Total Charcoal about 49 kg
Ore Total Added 19.2 kg
Slag Recovered Fragments 7.1 kg
Gromps Recovered Fragments .75 kg
  Total Recovered 14.25 kg
Bloom Weight : 6155 gm
Secondary Fragment : 250 gm
Total Weight : 6.4 kg
Yield : 33 %


Smelt Data Sheet

This experiment builds on the system profile from October 8. As was suspected, the general layout of the pit and furnace combination proved workable. The shift to a iron rich ore completed the mechanism, the proof being in a high yield of nicely dense, forgeable iron bloom.

The operation of the furnace was virtually flawless. At no time was any significant liquid slag observed at the tuyere, with no interuption of air. Intentionally the consumption rate was kept to the 10 - 12 minute per standard (1.8 kg) charcoal measure. This was because of a concern the pure taconite ore might tend to produce a high carbon cast iron otherwise.

One other result was that the furnace itself has proven both stable and durable. After the smelt, the body of the furnace was carefully placed on wooden planks, then slid off to one side of the smelt area. After the slag block was excavated, the retaining walls were replaced, the pit filled with earth / ash / slag mixture. With the furnace body slid back into place, there is no reason that another smelt could not be undertaken using the same structure. Noteably, the ceramic tuyere, which at this point has endured three separate full smelts, shows every sign of being able to withstand yet another.


Unless Noted : Text and photography © 2011, Darrell Markewitz